This is my journey of installing Windows 7 for minimal office use in Sri Lanka. The device that i'm dealing with today is an ancient Dell Inspiron N4050 from 2014 (a 10 year Intel i3 laptop).
This is NOT a guide. This is my personal experience installing Windows 7 on a decade old laptop, so, I might be doing something wrong here. You should not use Windows 7 as it's no longer secure nor its supported anymore by Microsoft. Please use a Linux distribution instead.
This has a completely functional copy of Linux Mint installed, thats customized to look like Windows 7.
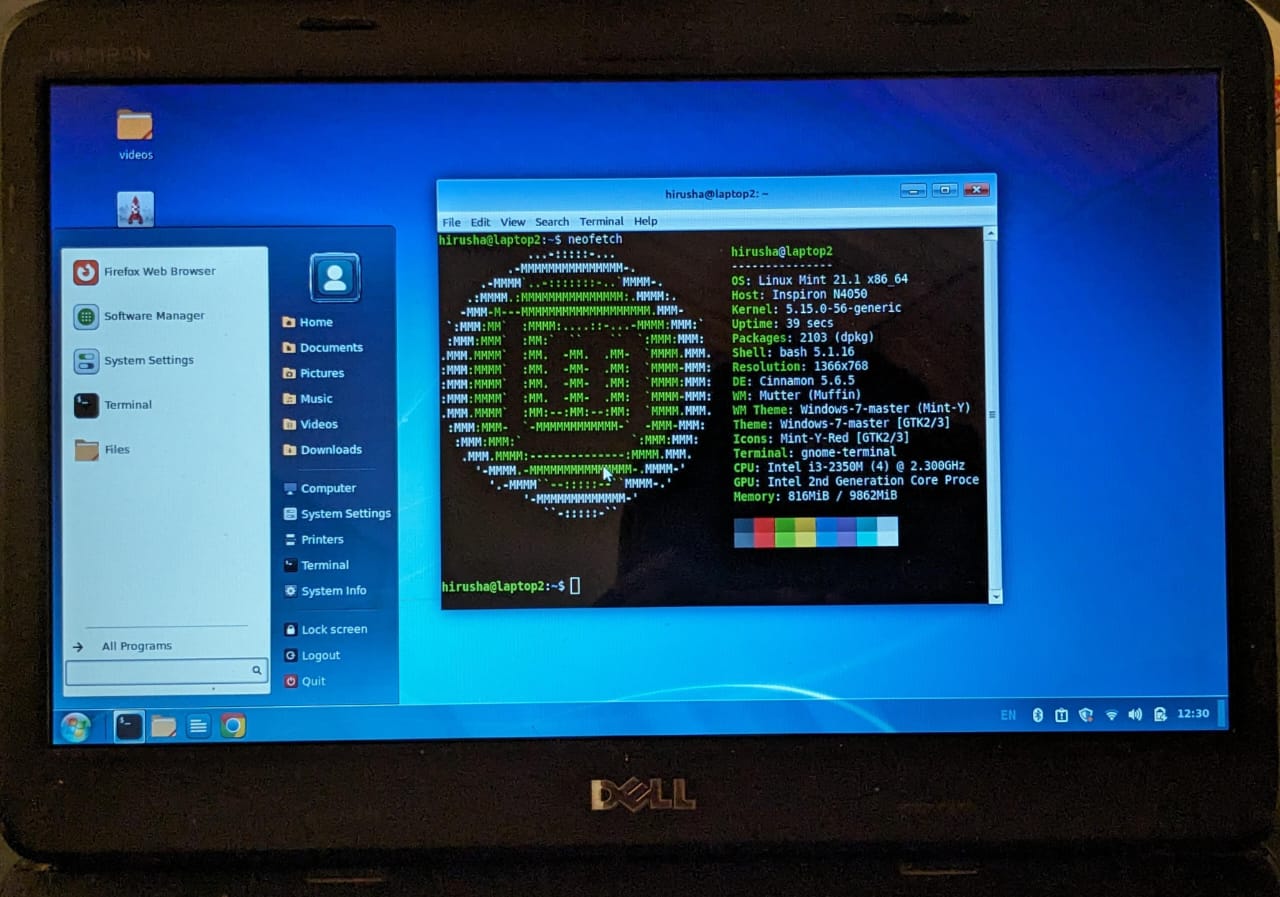
This laptop is equipped with an i3-2350M, 10 Gigabytes of RAM with a SATA SSD.
The user requirements of this laptop has changed and legacy sinhala font support (FM Bindumathi, FM Gemunu, FM Abhaya, etc...) with the microsoft office suite was a must, so the only option left is to either install Windows 10 or 8 and get the system bloated and slow or to install Windows 7 in 2024.
Yes, Windows 8 is also discontinued now, but, I personally don't think that it would support this device very well.
I'm not a huge fan of Windows 8 anyways, so, Windows 7 it is.
Installation
Bootable Pendrive
You can download the Windows 7 SP1 Ultimate image from here
After downloading it, we can write that installation media to a pendrive and boot from it using tools like Rufus: The Reliable USB Formatting Utility - a Free and Open Source Tool.
Open Rufus, plug-in your pendrive, select the downloading image (the .iso file).
Make sure to select the Partition Scheme as MBR and the Target System as BIOS when you are trying flash a pendrive for older computers.
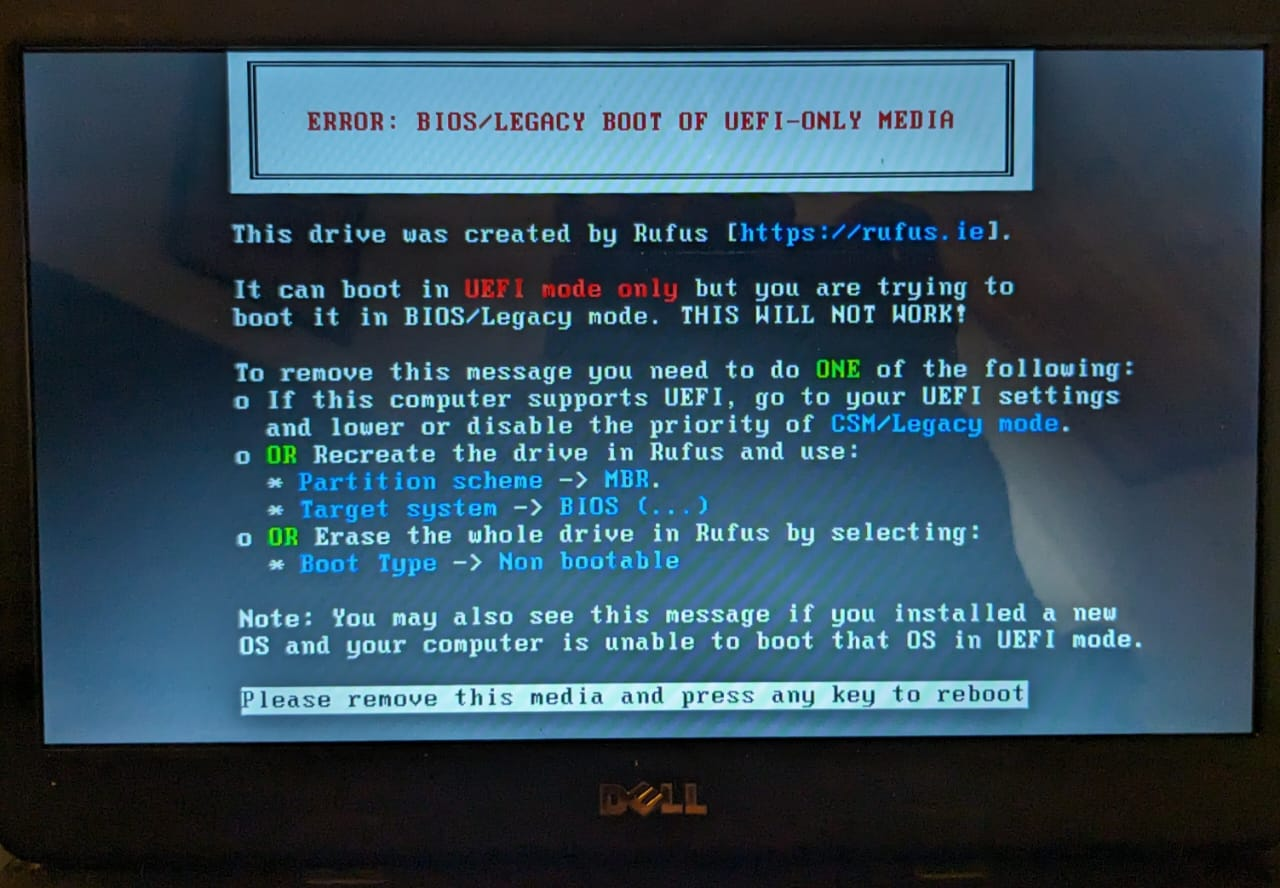
This might happen if you do not do that:
You will get this error after you boot from the pendrive after selecting it from the Boot Menu:
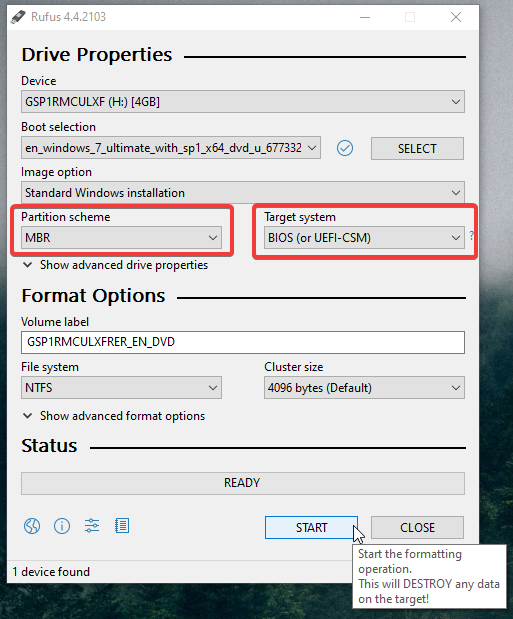
Click on the start button to flash the image make your pendrive bootable.
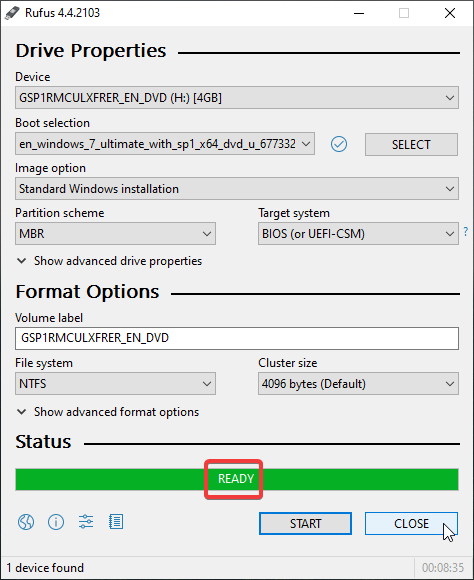
After you see "READY" in the progress bar, you are good to go.
Installing Windows
Remove the pendrive and plug it in to the system that we are going to install the new operating system to. (yes, those are scratches on the laptop chasis caused by myself trying to service it one every year)
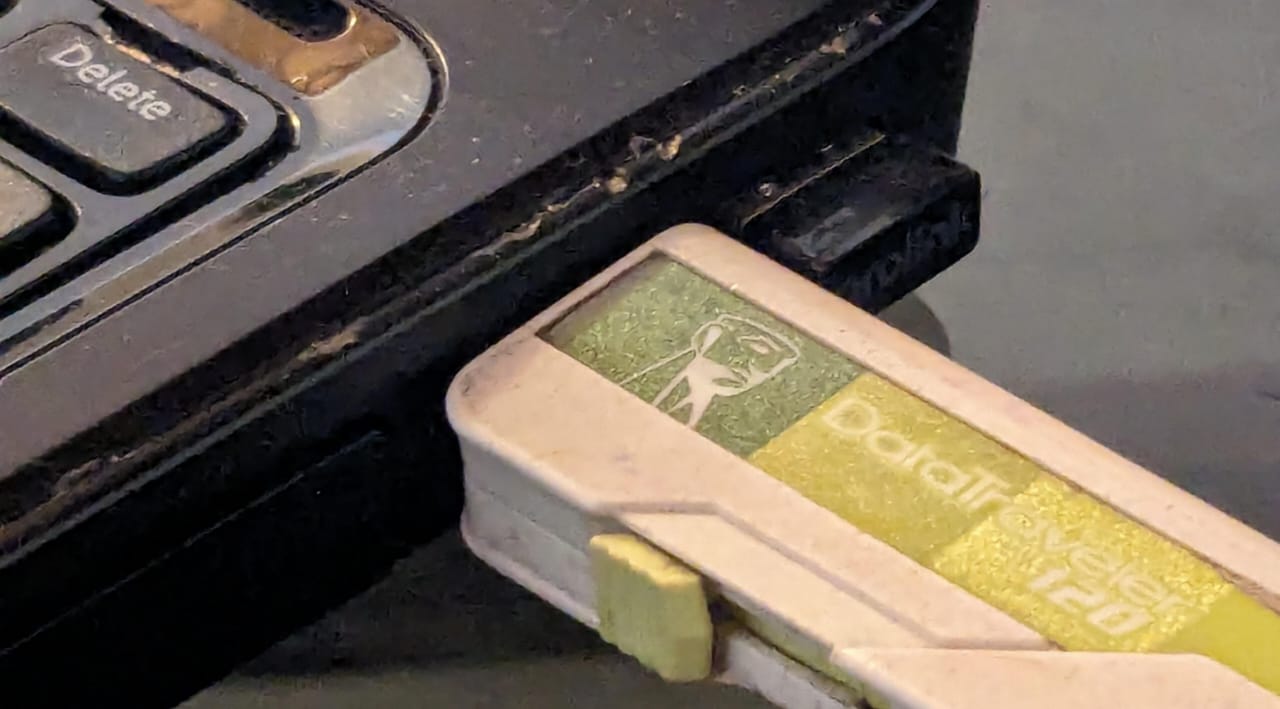
Turn on the device.
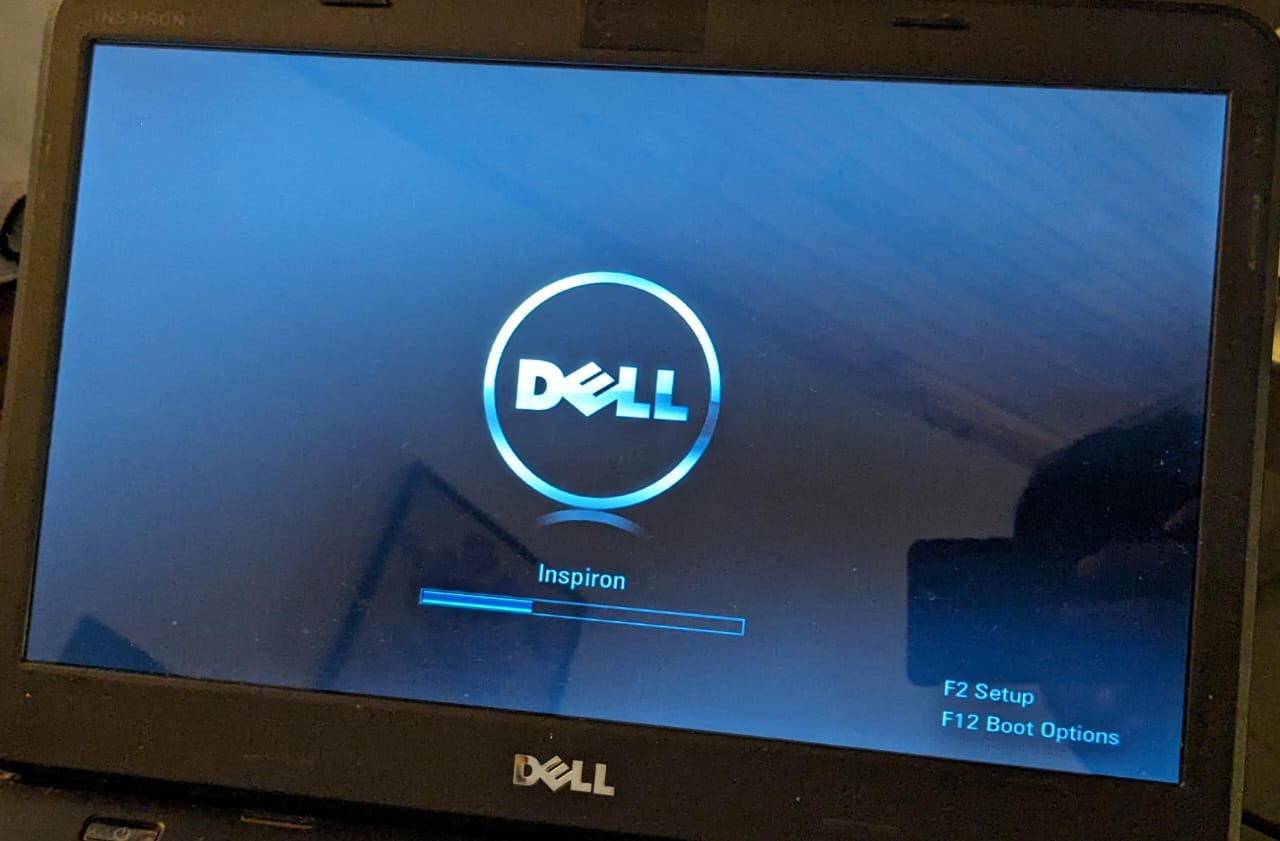
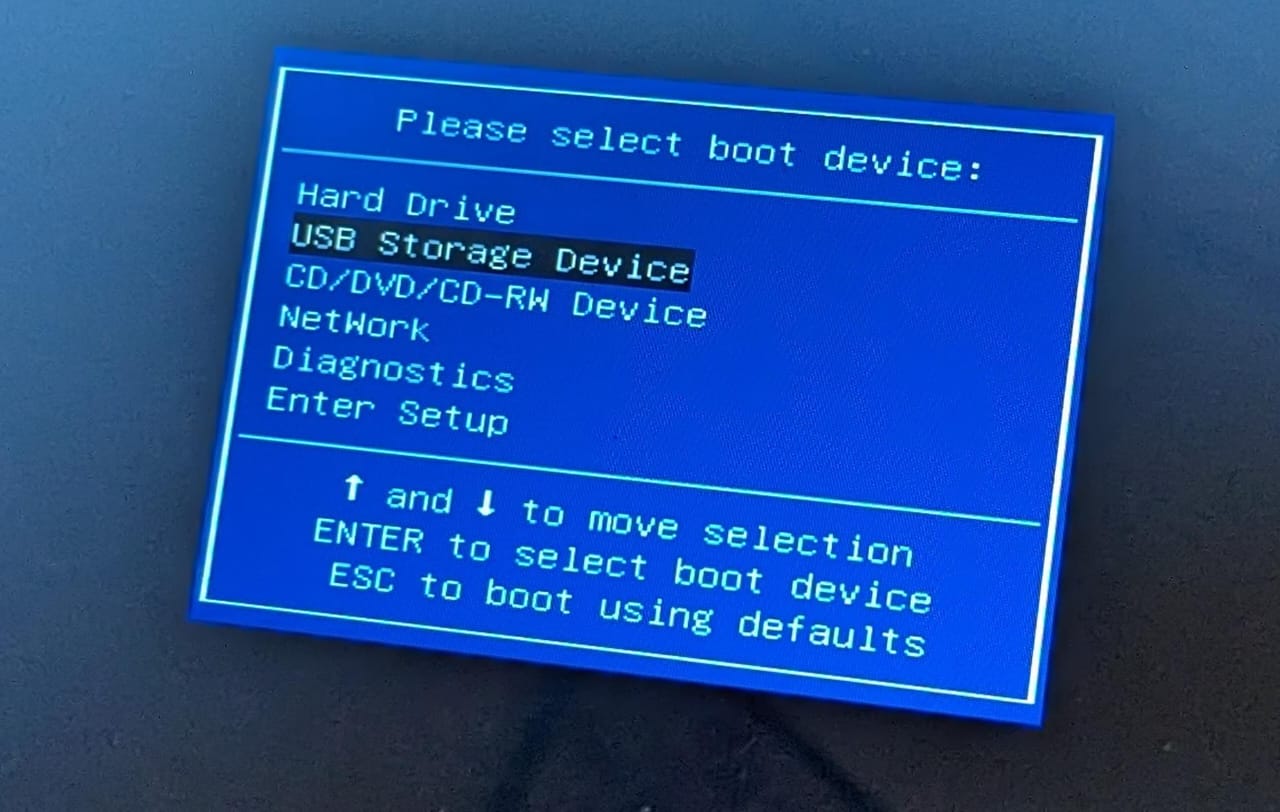
Go to the Boot Menu / Boot Options Menu, select the pendrive to boot with and hit enter.
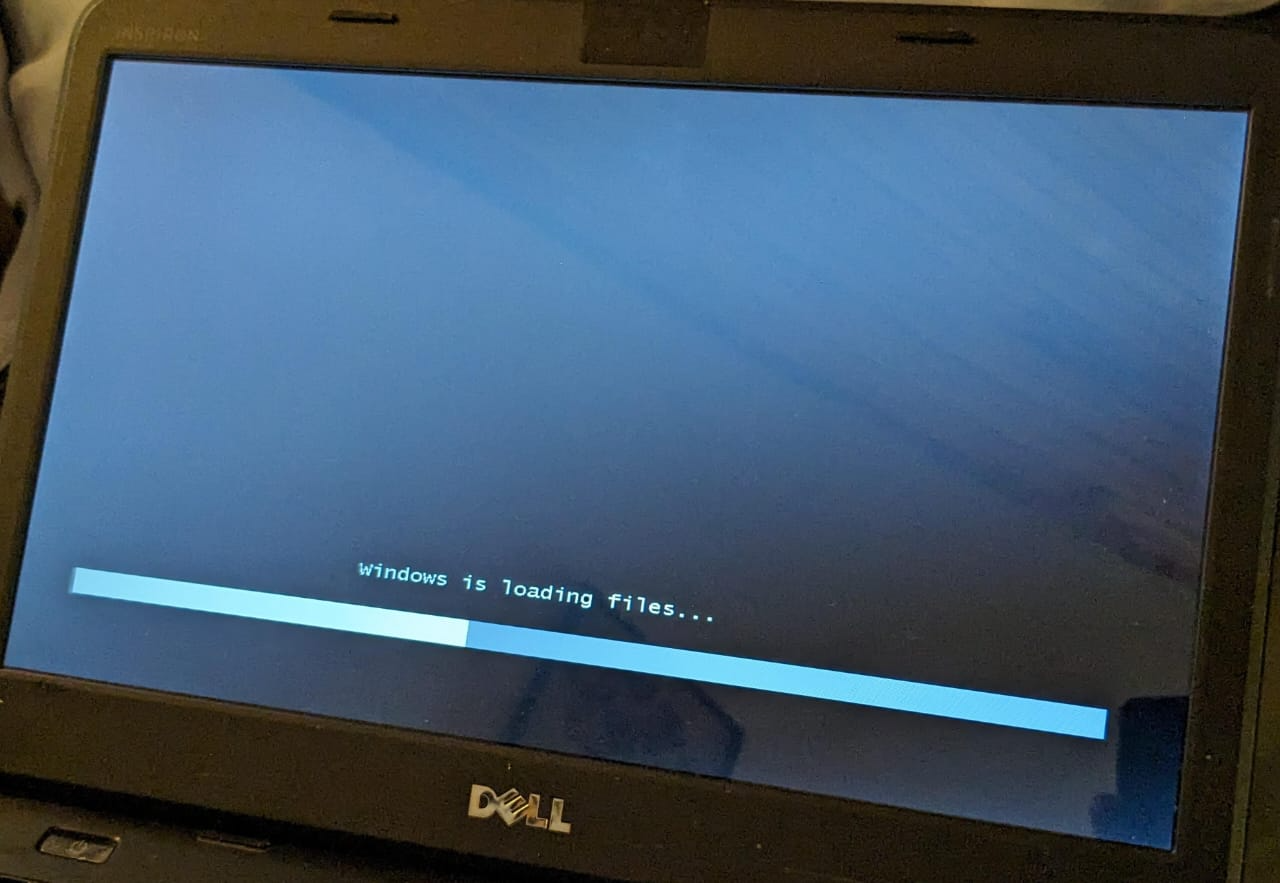
Your computer will now boot from the bootable pendrive.
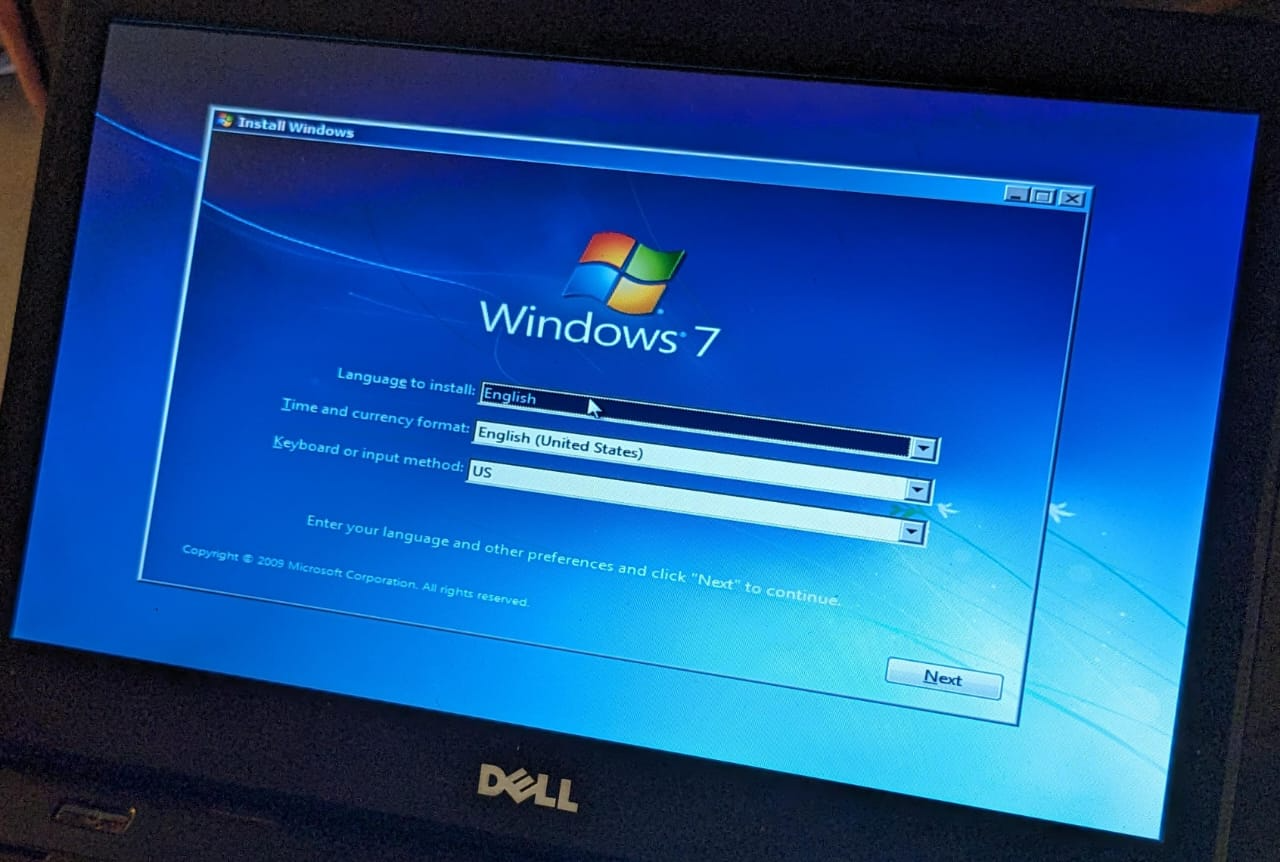
Choose your language and the keyboard layout and press "Next".
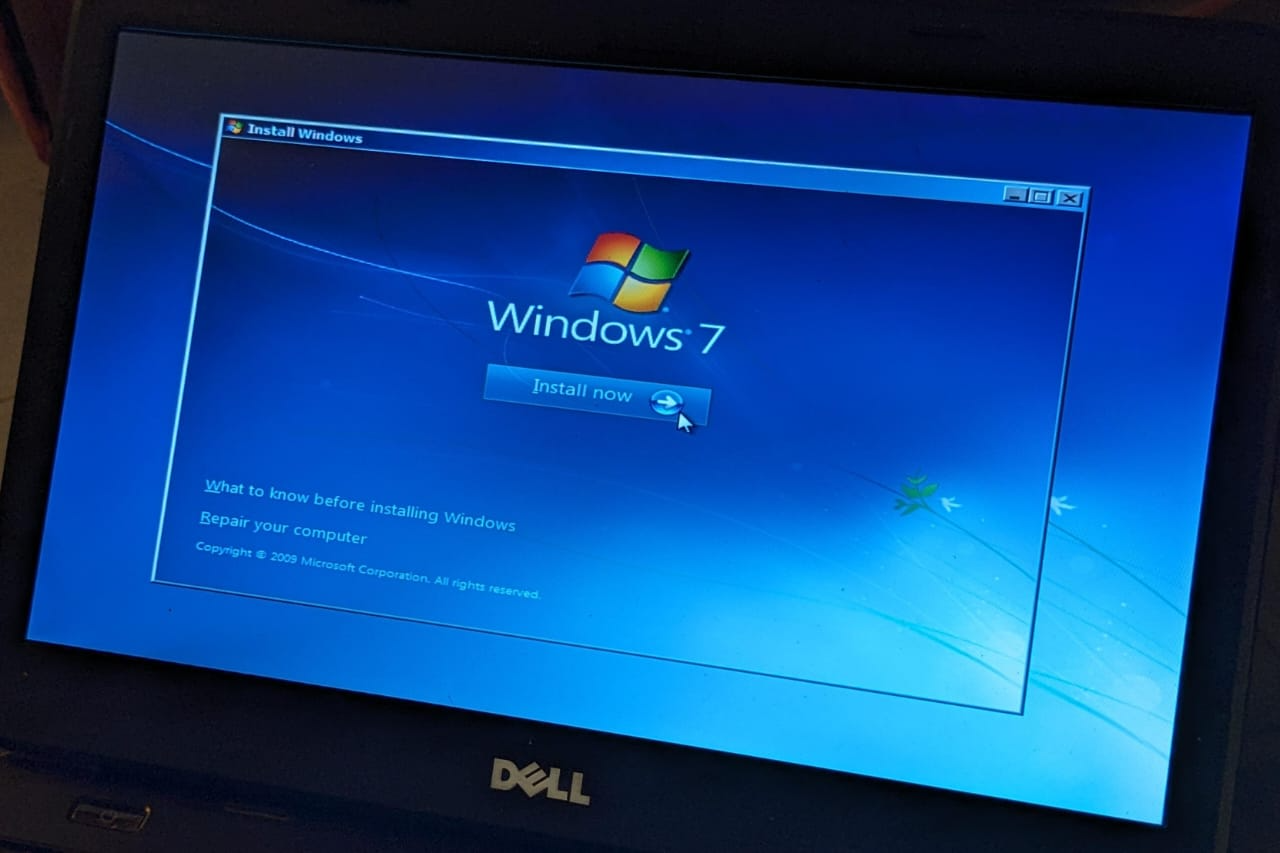
Click on "Install now".
Wait for it to load.
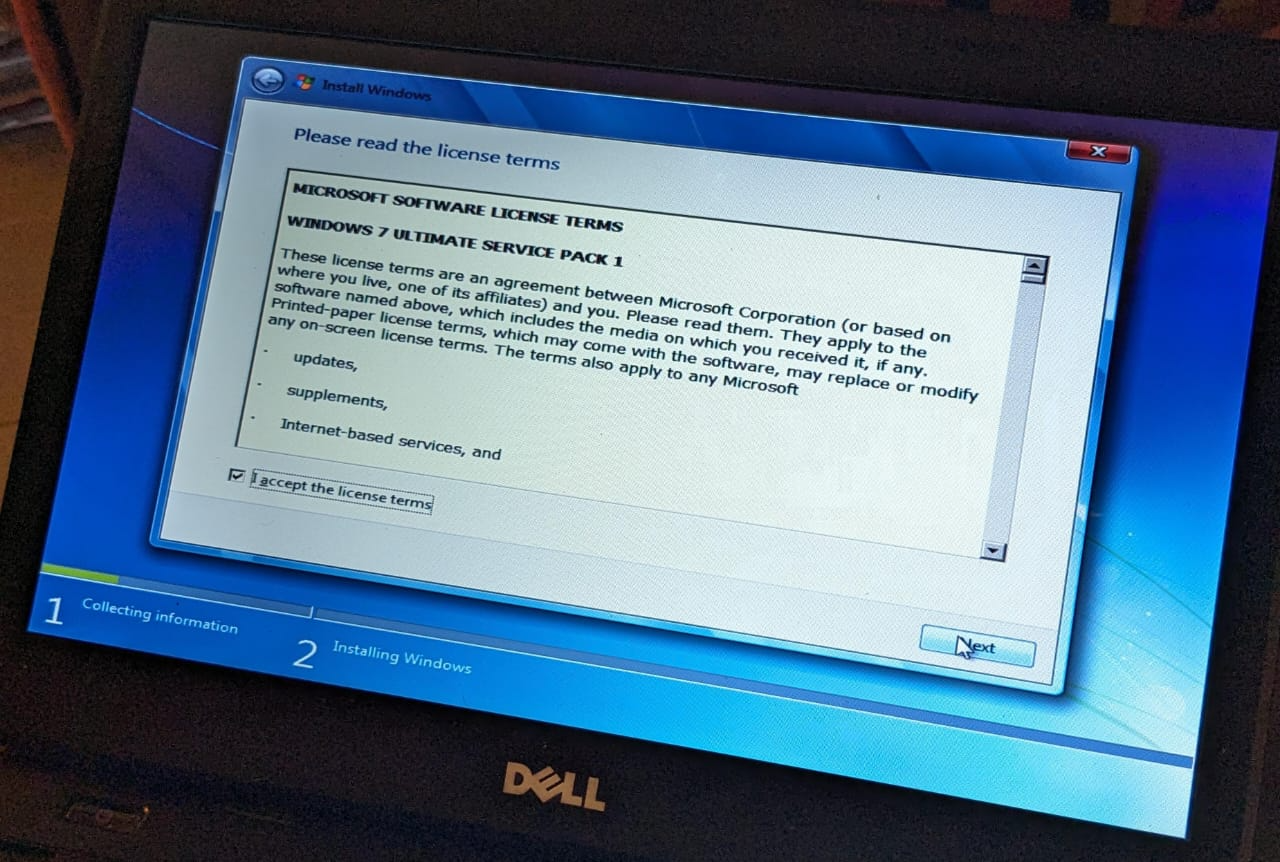
Accept the licence agreement and click "Next".
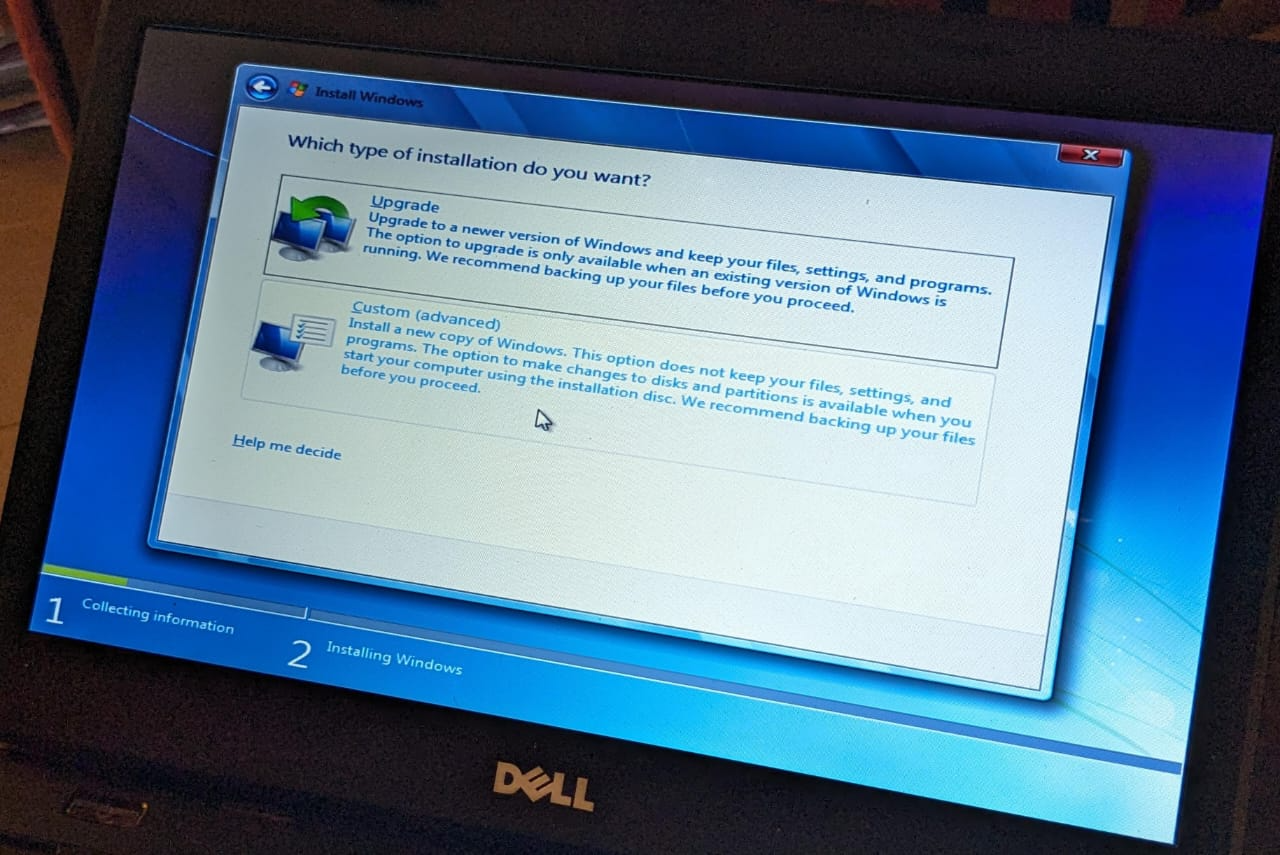
Now, we have to select the type of installation we want. There are two options here: Upgrade and Custom (Advanced). Since i want to completely remove the Linux Mint installation and install Windows 7, i'll select Custom (Advanced).
The "Upgrade" option has never worked for me, not with Windows 7 nor Windows 10. Maybe i was doing something wrong or it's the most useless feature ever built.
Since i want to remove everything, i'll delete all the partitions in my main disk (Disk 0)
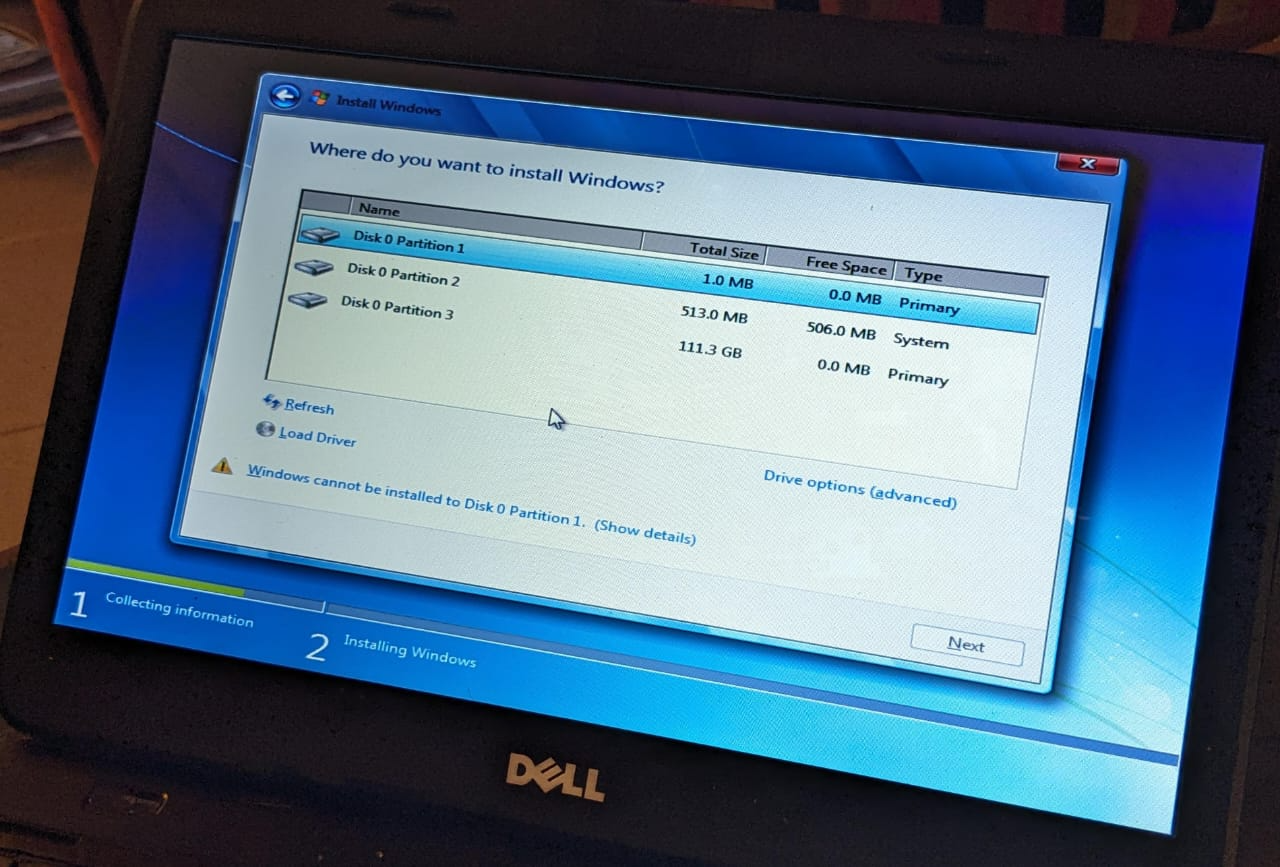
So, now, it looks something like this:
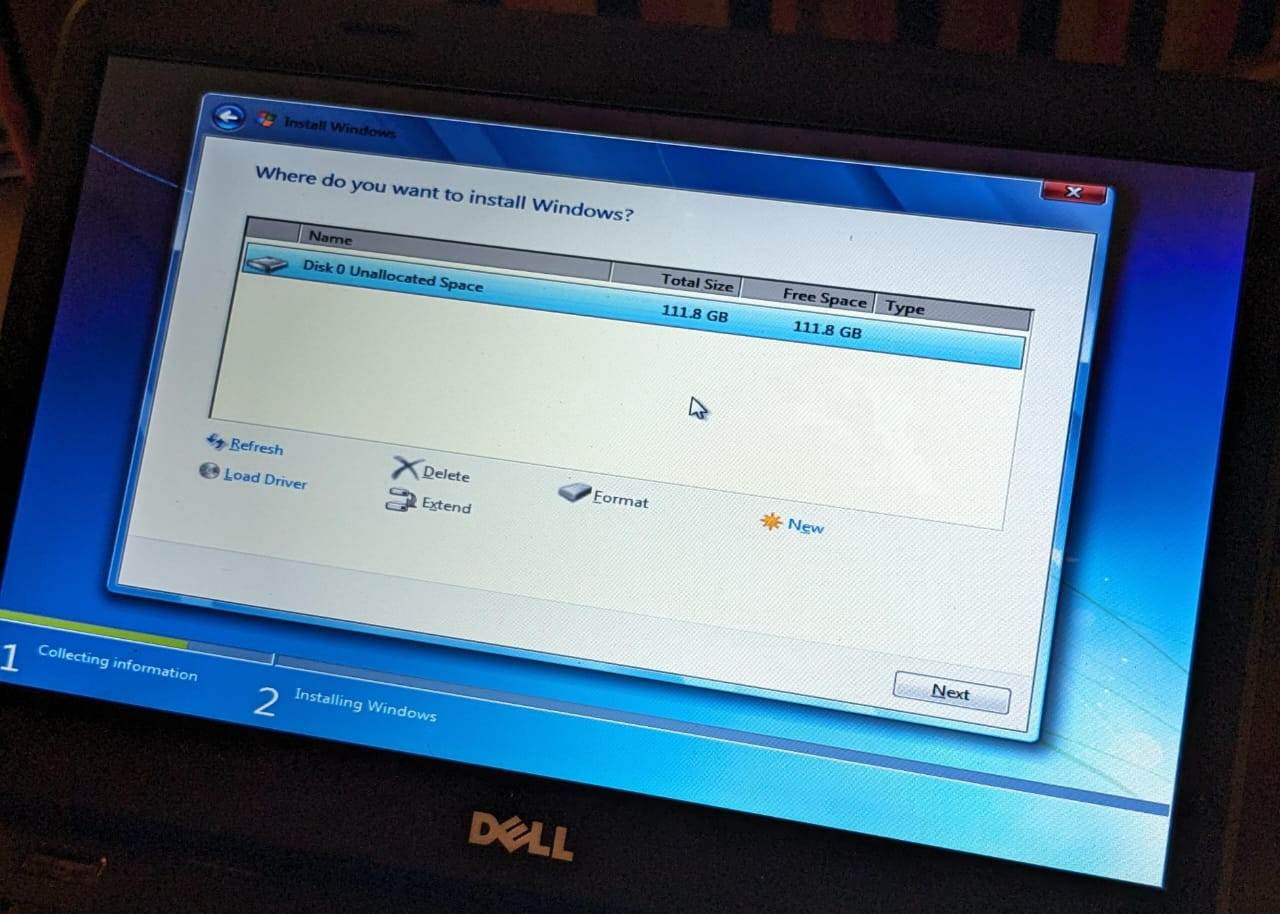
Click on "Next" for the installation to begin.
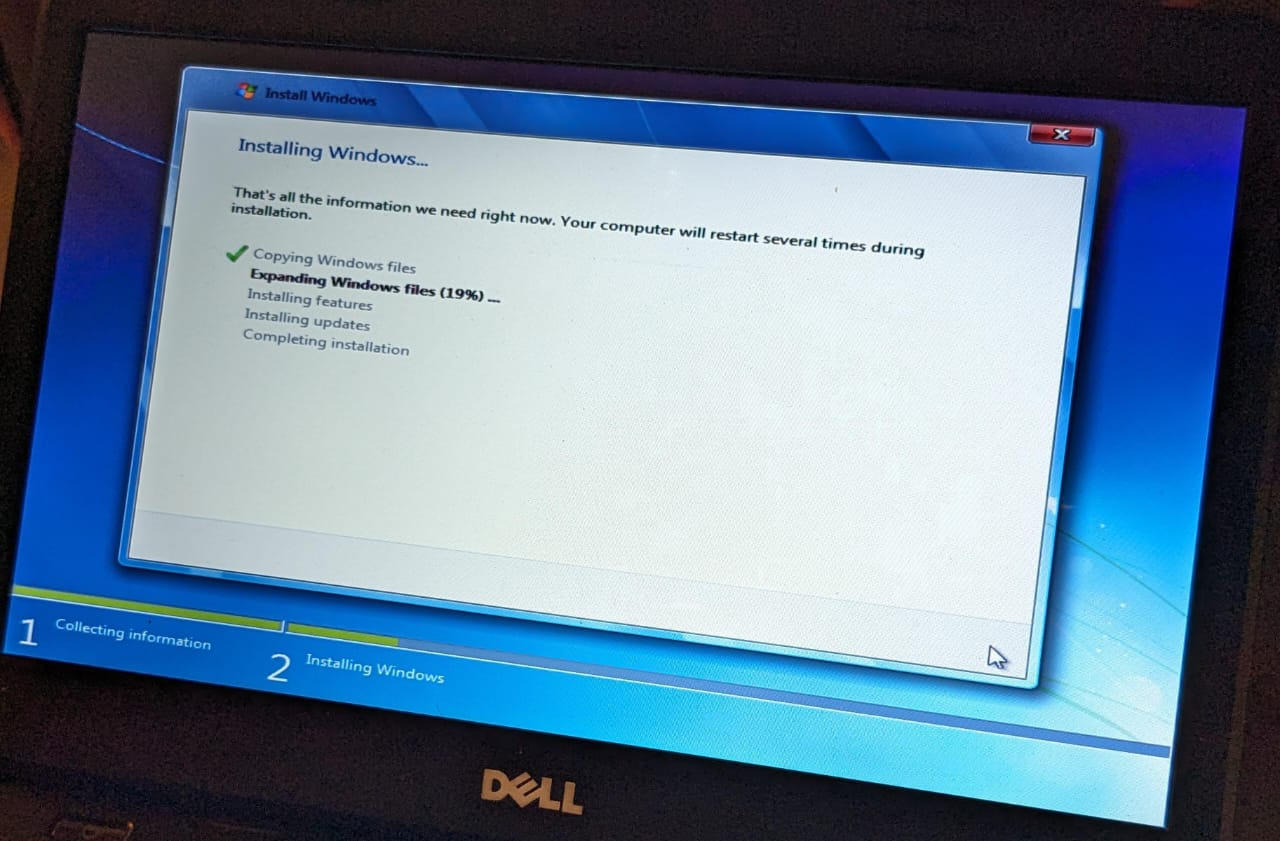
Your computer will restart once or twice while the installation takes place. It happens automatically.
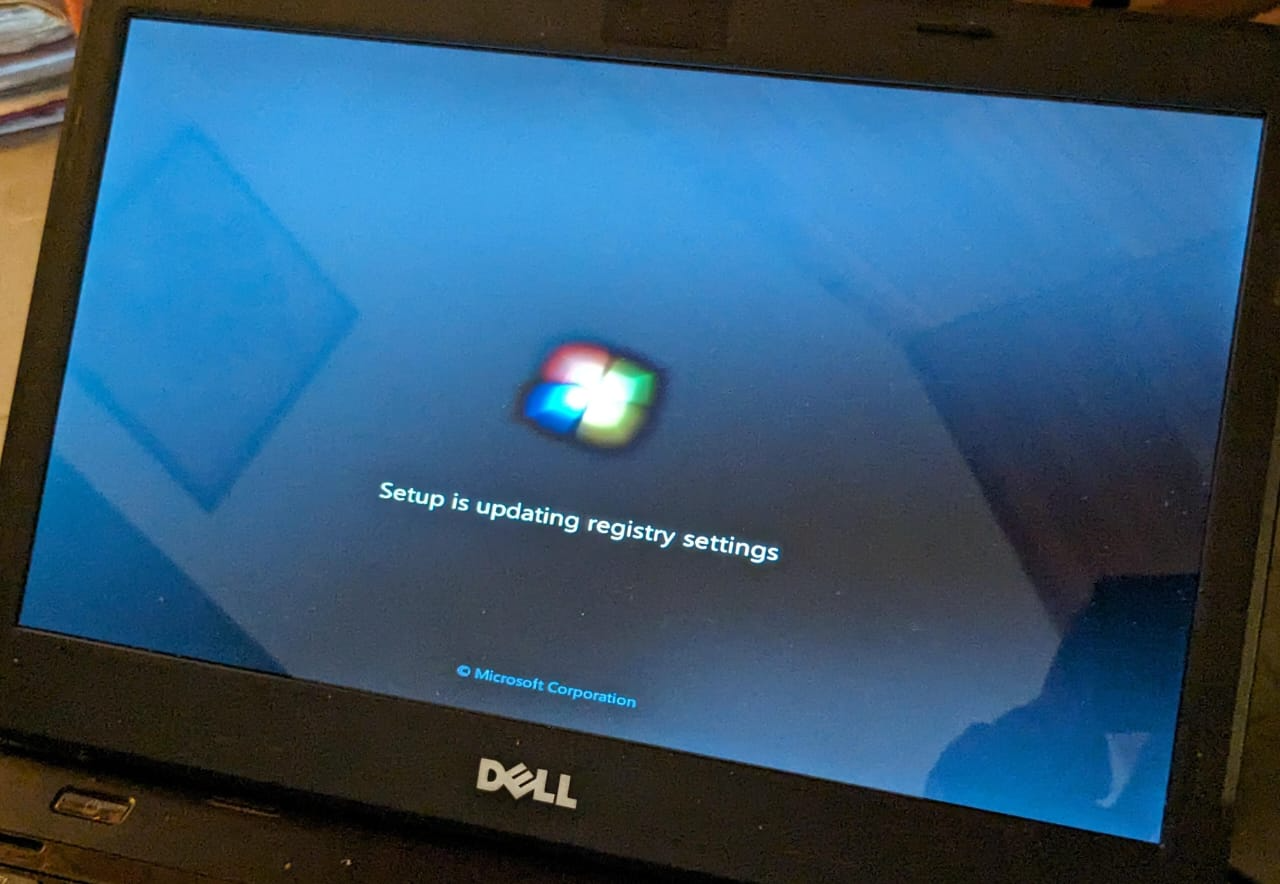
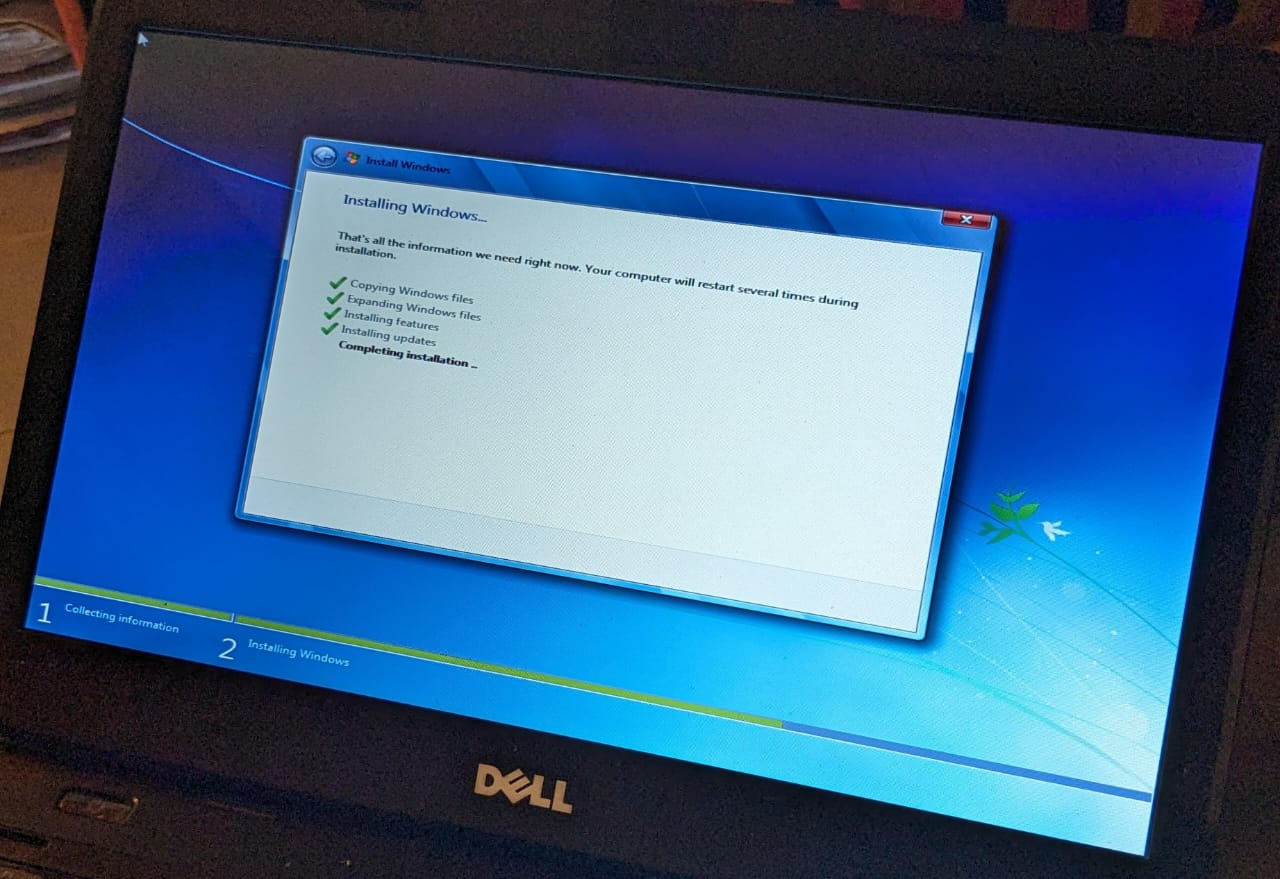
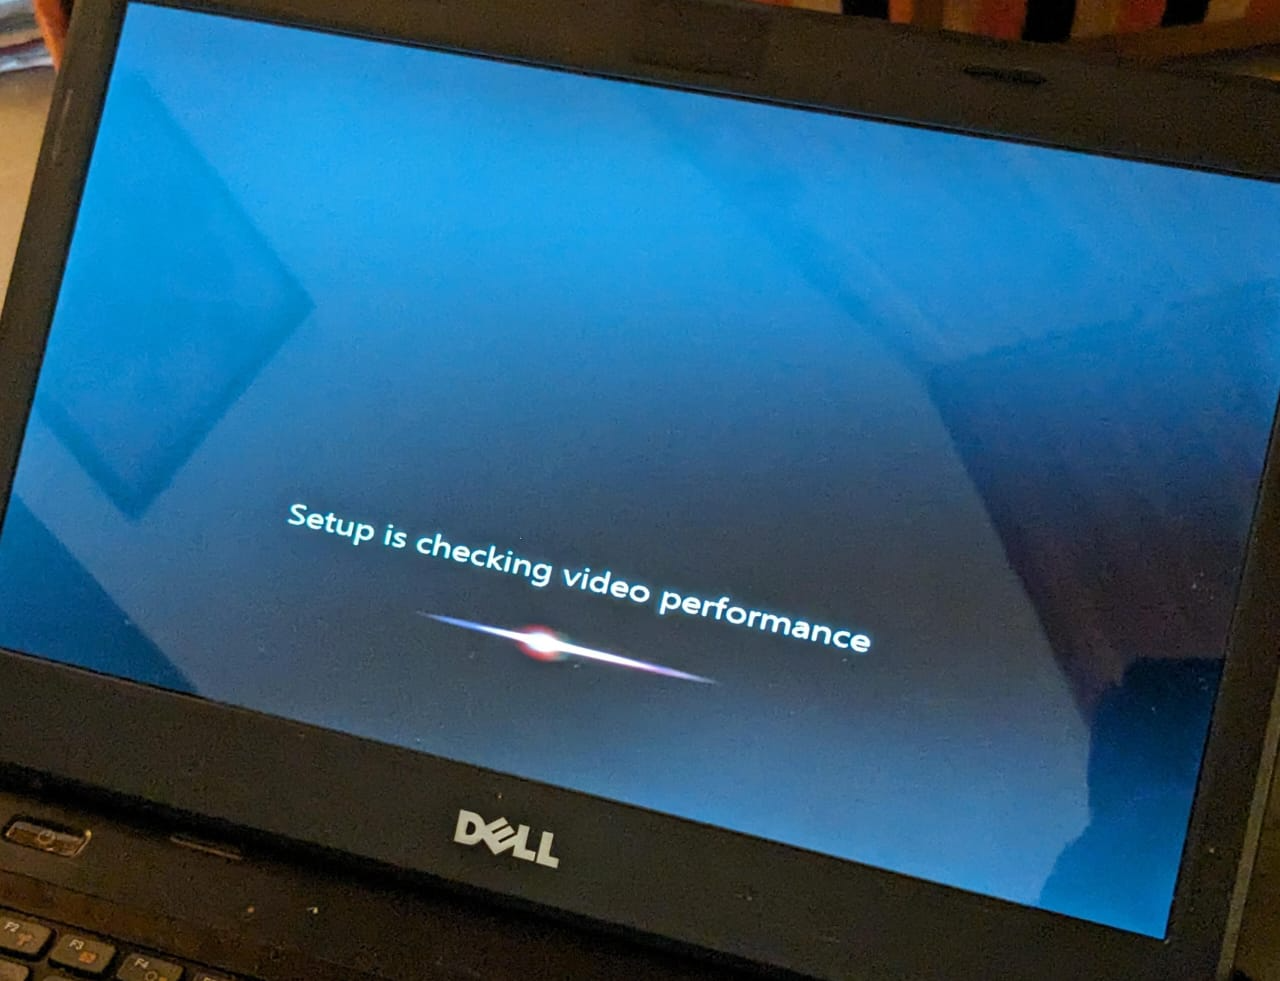
Now, you will be greeted with the Set Up Windows page. At this stage, it's safe for you to remove your pendrive from the system.
Enter your username and the computer name.
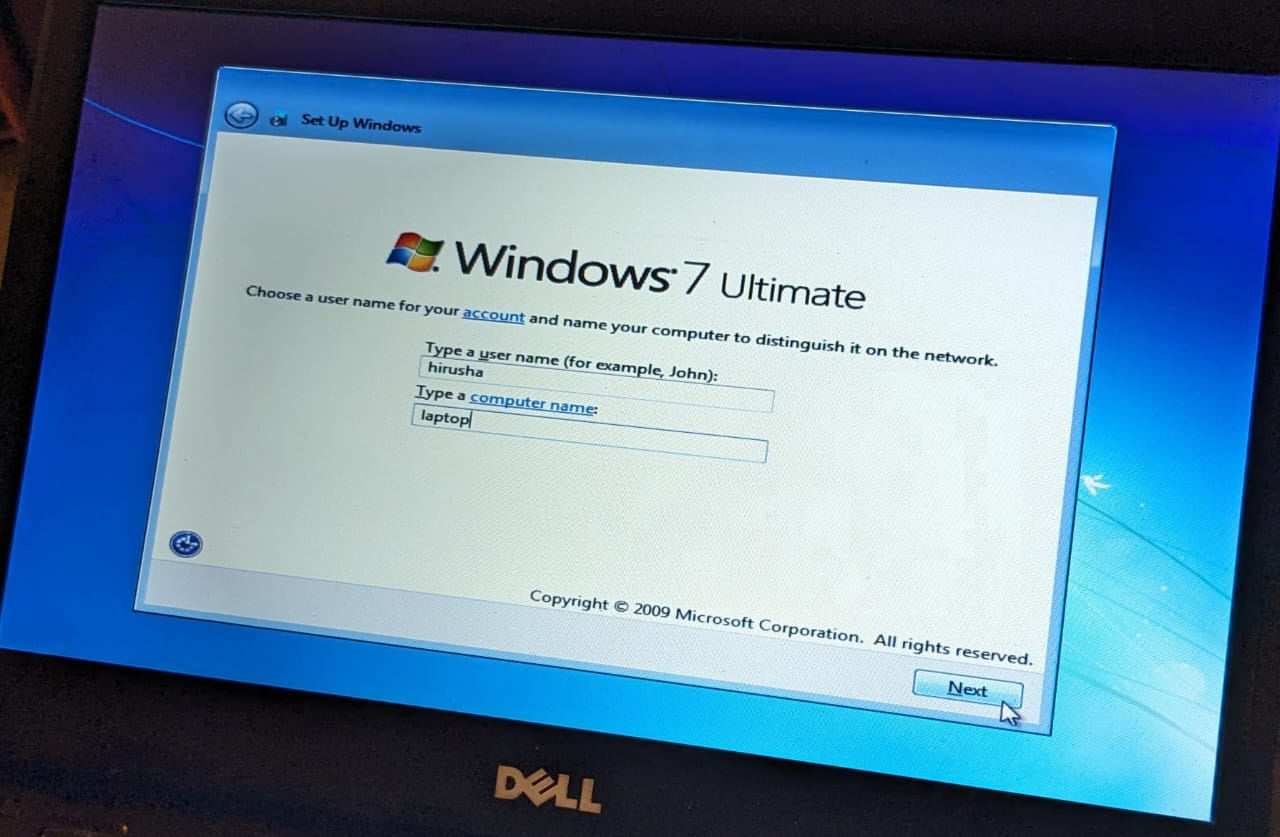
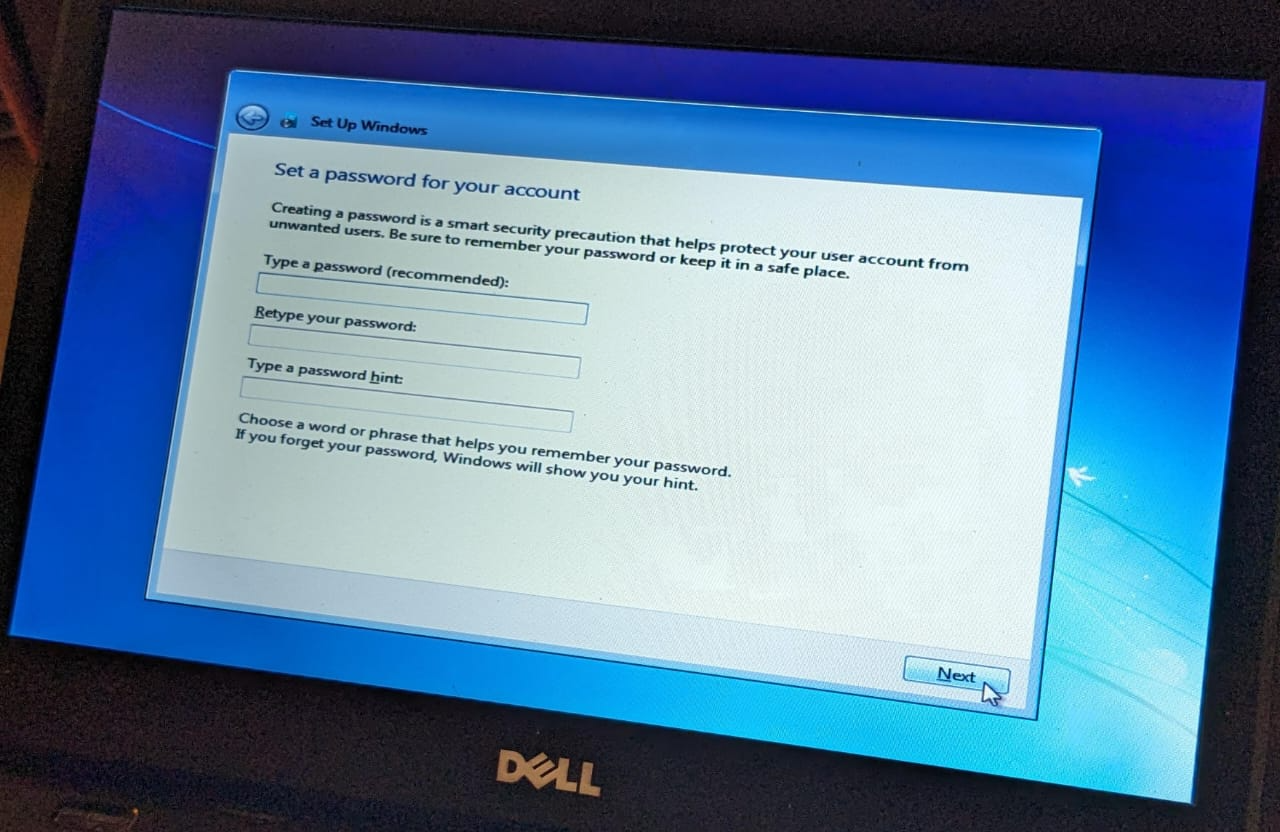
I wont be setting any password, you should consider doing this incase if you are setting your computer up with windows 7 for office use.
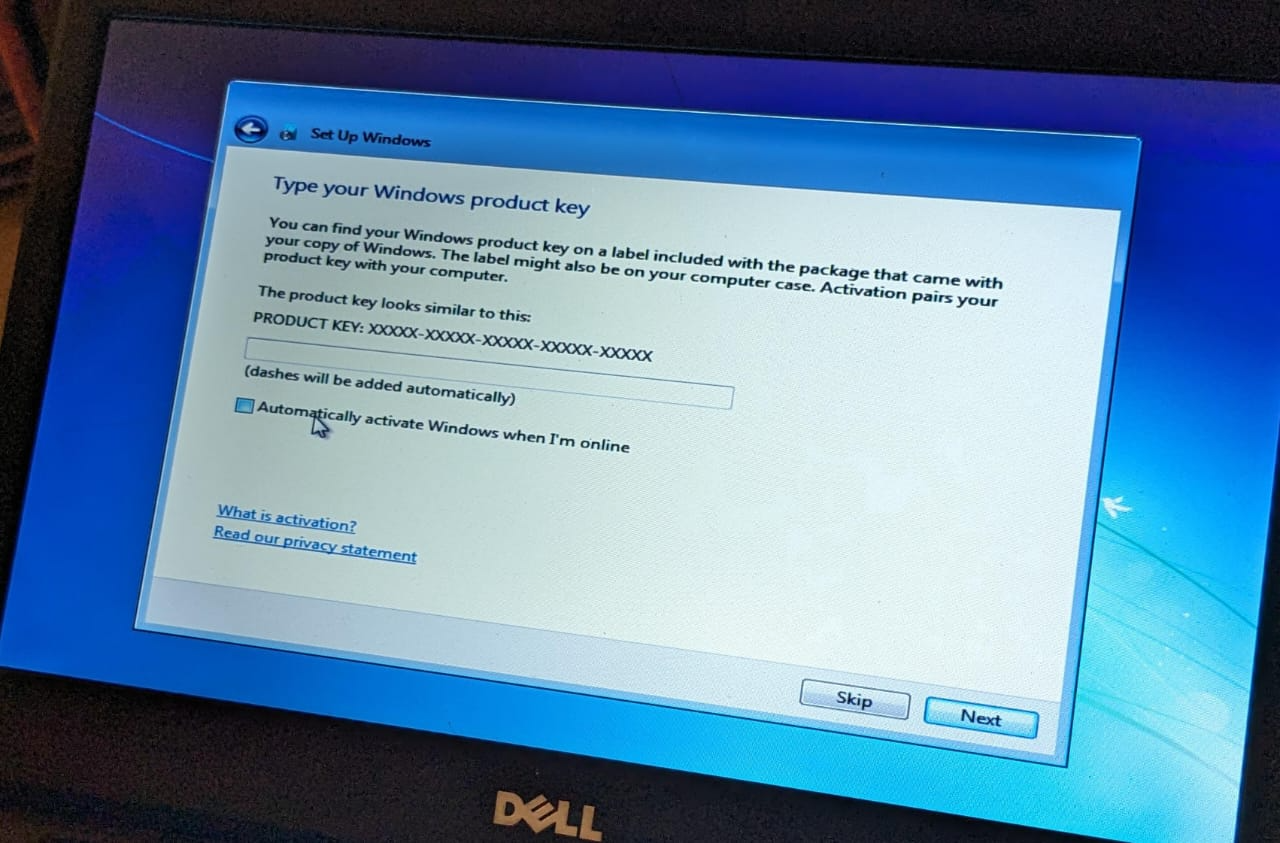
No, i don't want to activate a discontinued copy of Windows.
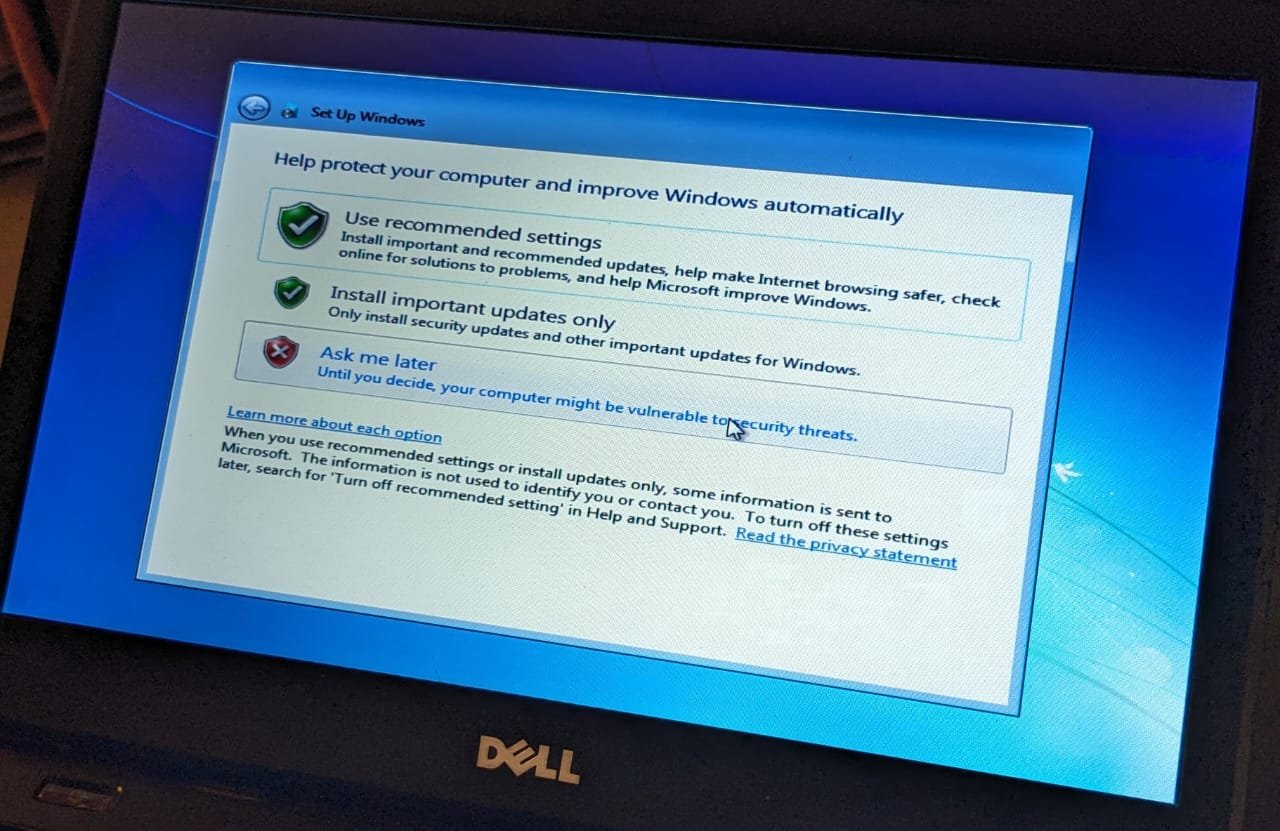
And no, i will disable the auto updating because i don't want to spend any resources / network usage trying to ping / GET non existing routes in Microsoft's servers.
The final update for Windows 7 was on January 10, 2023.
Additional information about the final windows 7 update
"While the OS's Extended Support ended on Jan. 14, 2020, the Extended Security Updates (ESUs) reached their end of life on Jan. 10, 2023. As we bid farewell to this successor of Windows Vista, and by far one of the most user-friendly OSs, let us take a deep dive into what Windows 7 end of life entails." - ManageEngine Blog
Select your time zone
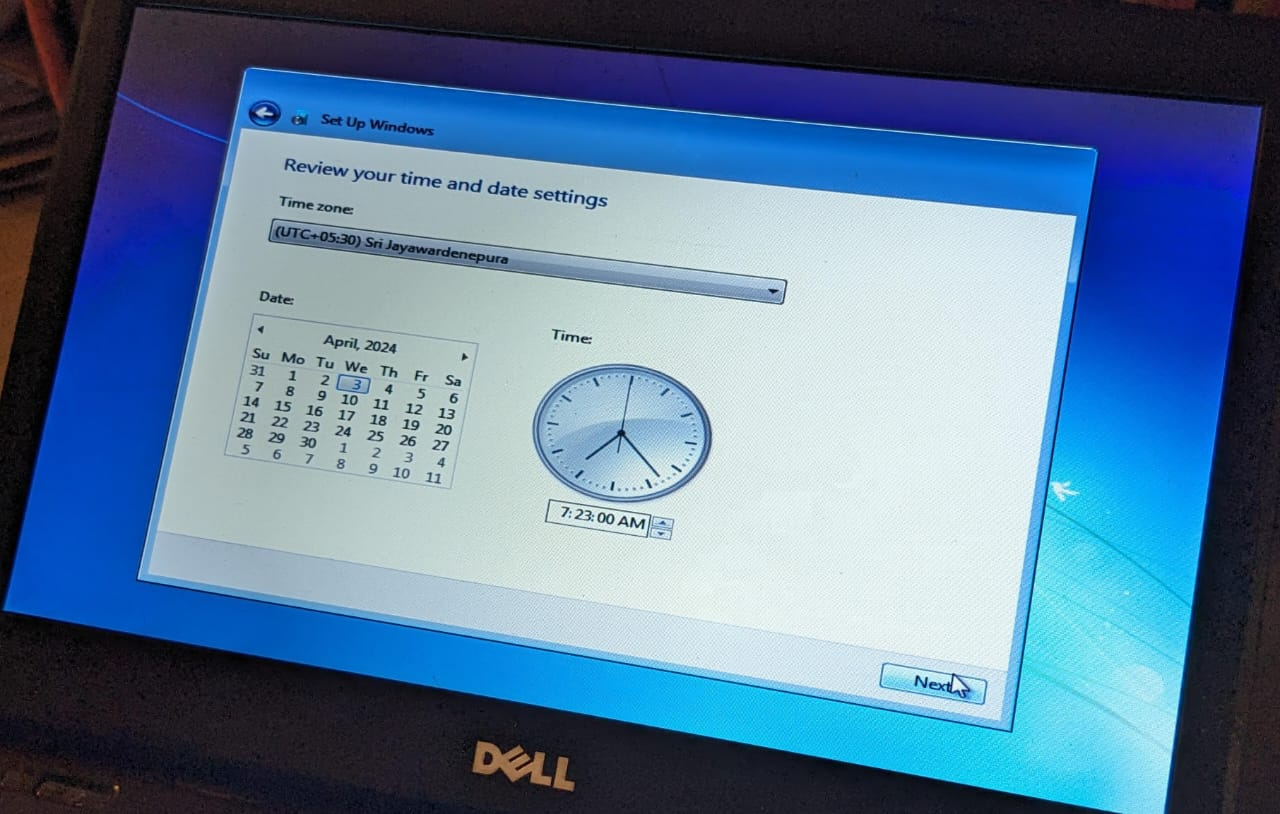
And you should be good to go
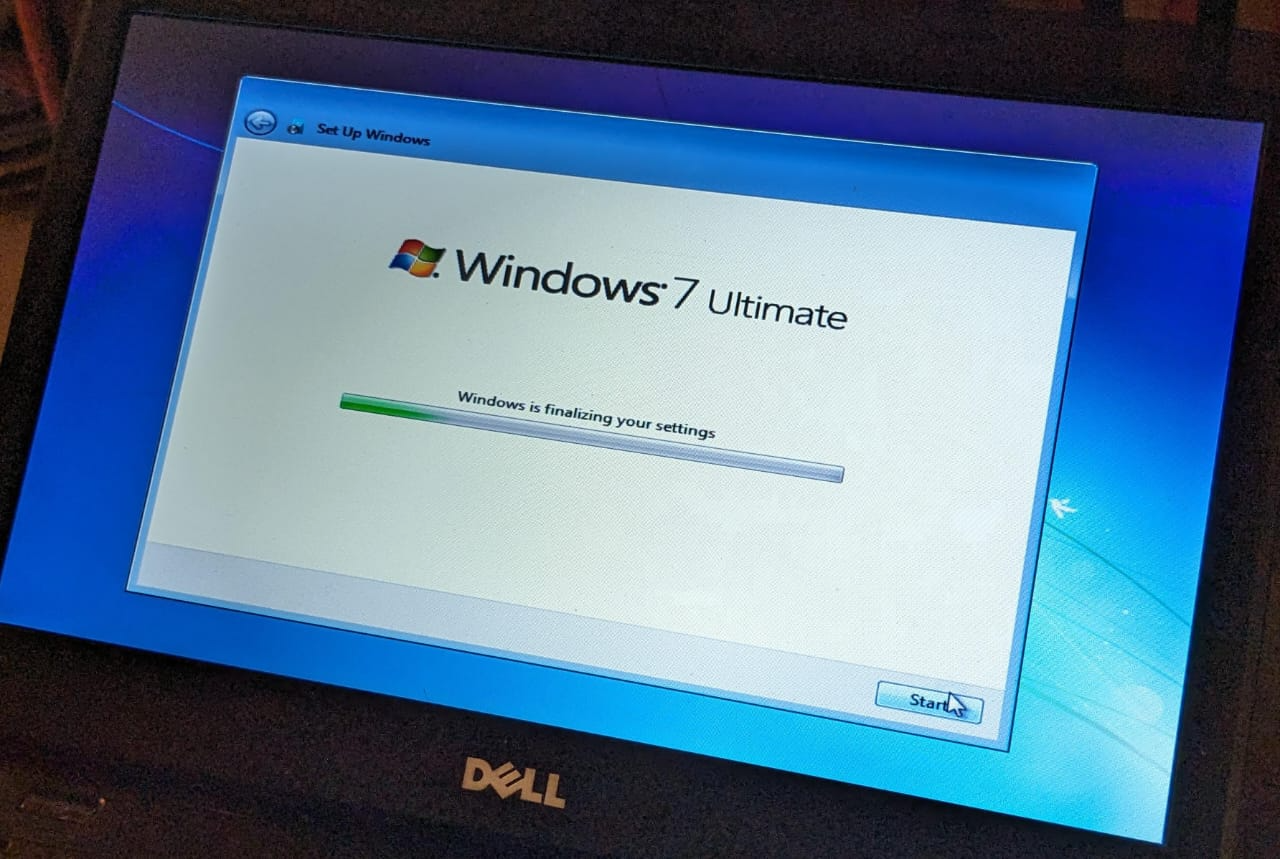
Now, the installation has been completed successfully.
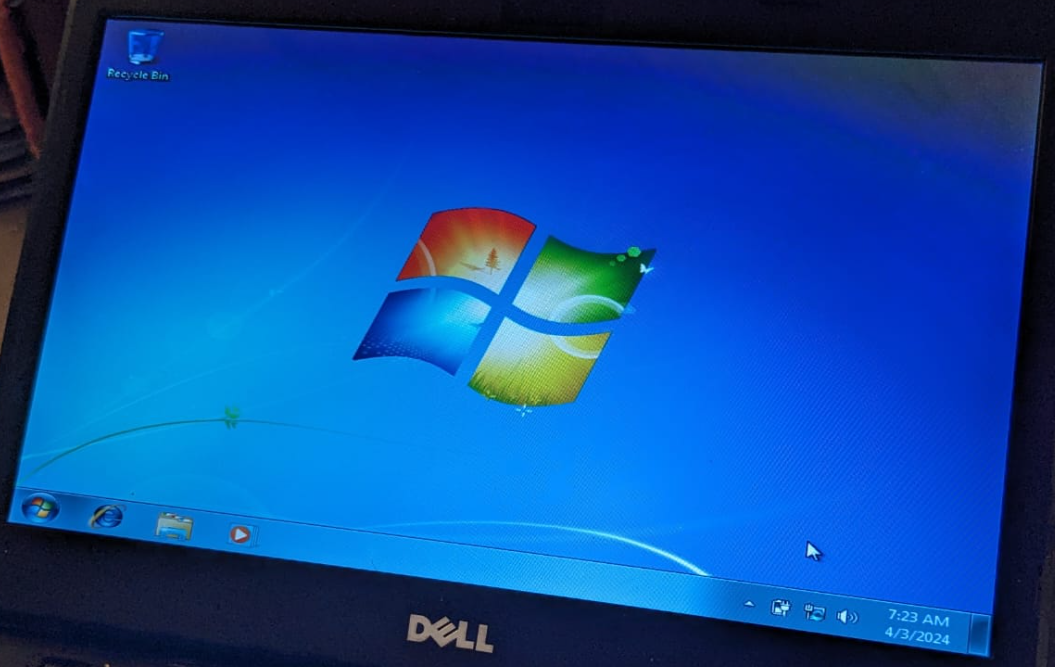
Post Installation Setup
After the installation, without any graphics driver, my screen resolution defaulted to 800x600 which is literally unusable, so, before anything, lets get started by adjusting the screen resolution to something usable.
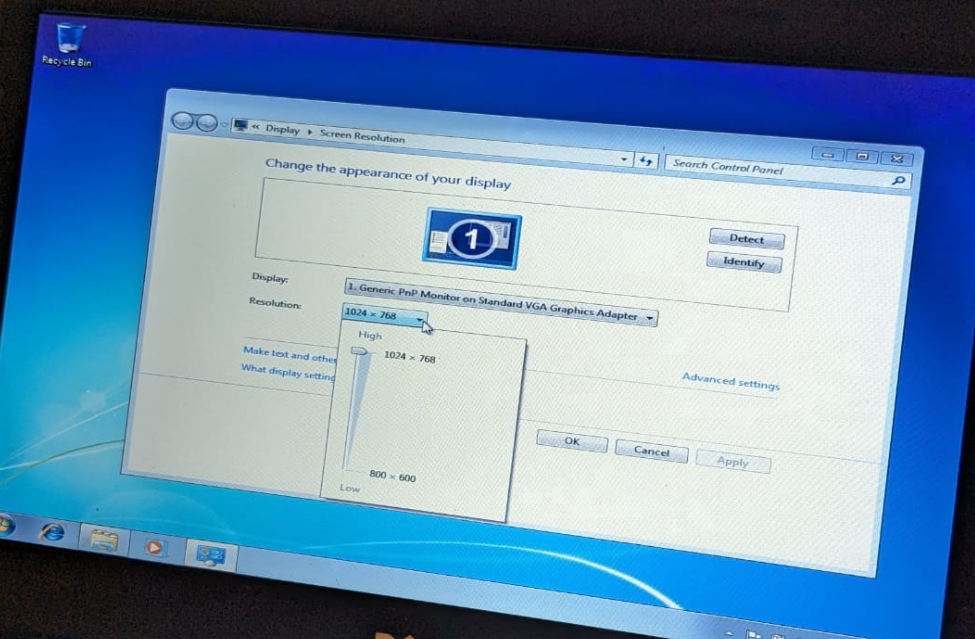
Setting up
Drivers
Downloading - Method 1
Go to your official manufacturers website and download the drivers. A quick and simple google search should get you the required drivers, but this is not always the case. Some manufacturers remove their old device information and drivers from their website. In this case, you'll have to either identify the correct drivers yourself and download them from a third party website or you can follow the method 2 (scroll down).
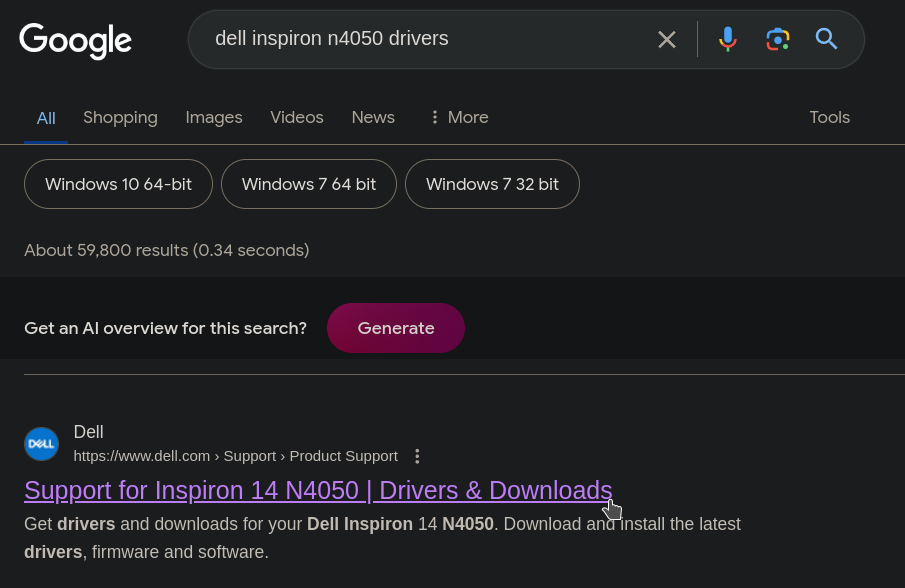
Download the required drivers. I will be downloading downloading and installing the Graphics Driver and the WiFi Driver from dell's official website.

Downloading - Method 2
Use Driver Identifier which is a free utility which will scan your computer for the required drivers and provide (almost) direct download links from reputable sources (like the manufactures of that specific hardware component, etc..)
Since the computer has no WiFi drivers, download it from another device and copy it the computer with Windows 7. (you can also downliad it from your phone, plug it in, and copy the setup from your phone)
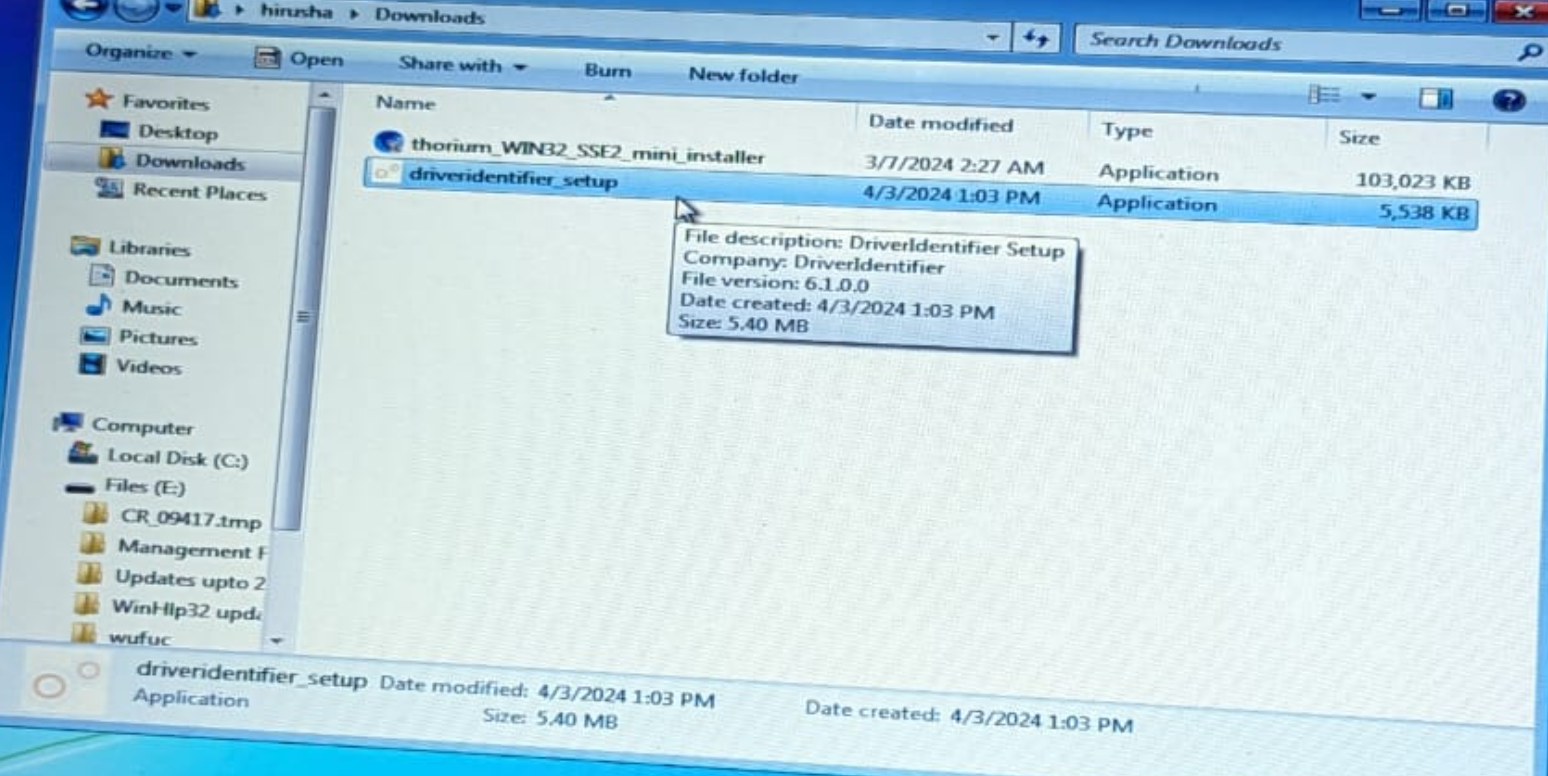
Open the application and click "I do not have internet connection" and then click on "Scan now".
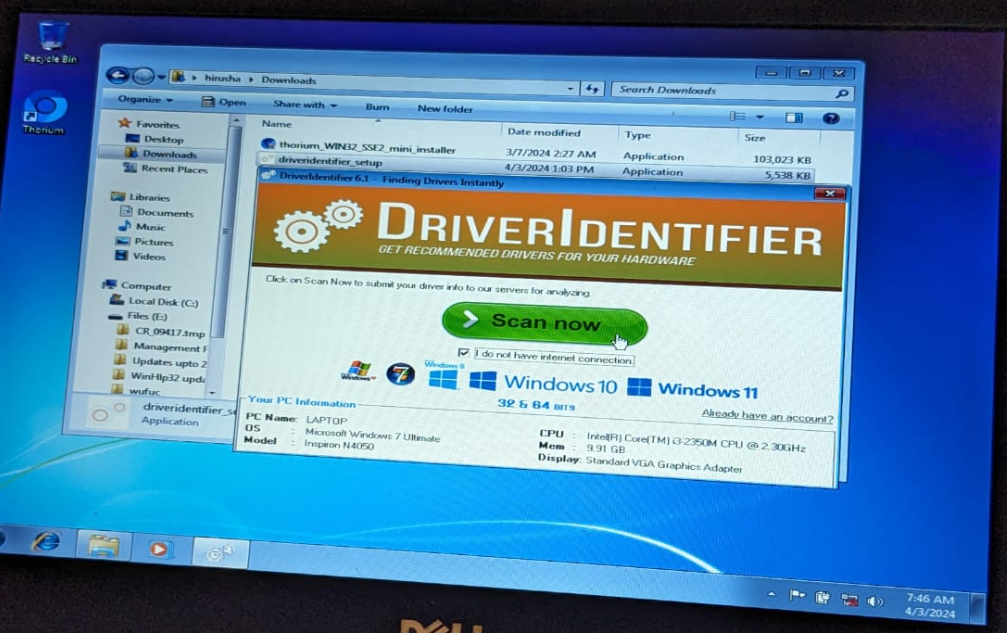
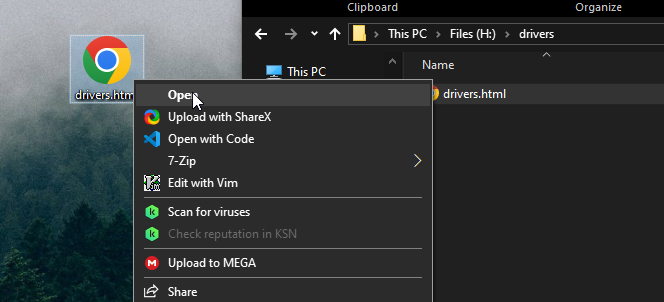
After the scanning is complete, you will be prompted to save a HTML file. Save it to your removable media drive.
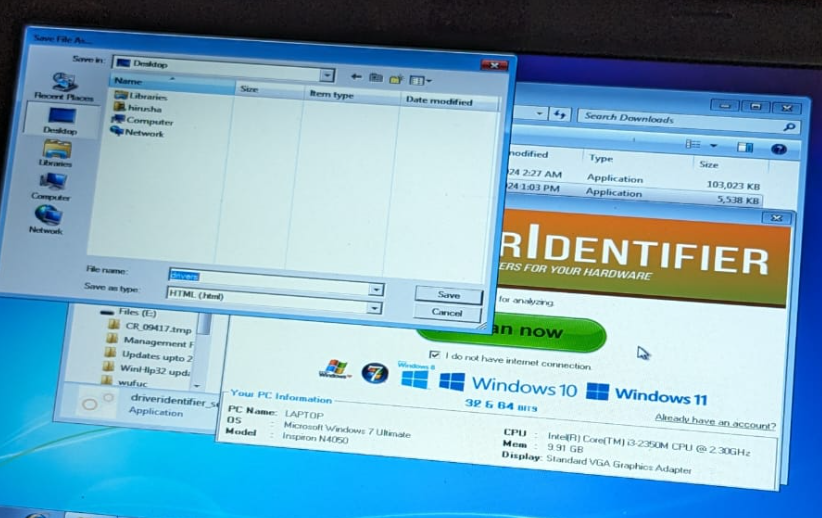
Plug-in that removable media drive to another device with an internet connection. (Copy and) open the previously saved HTML file.
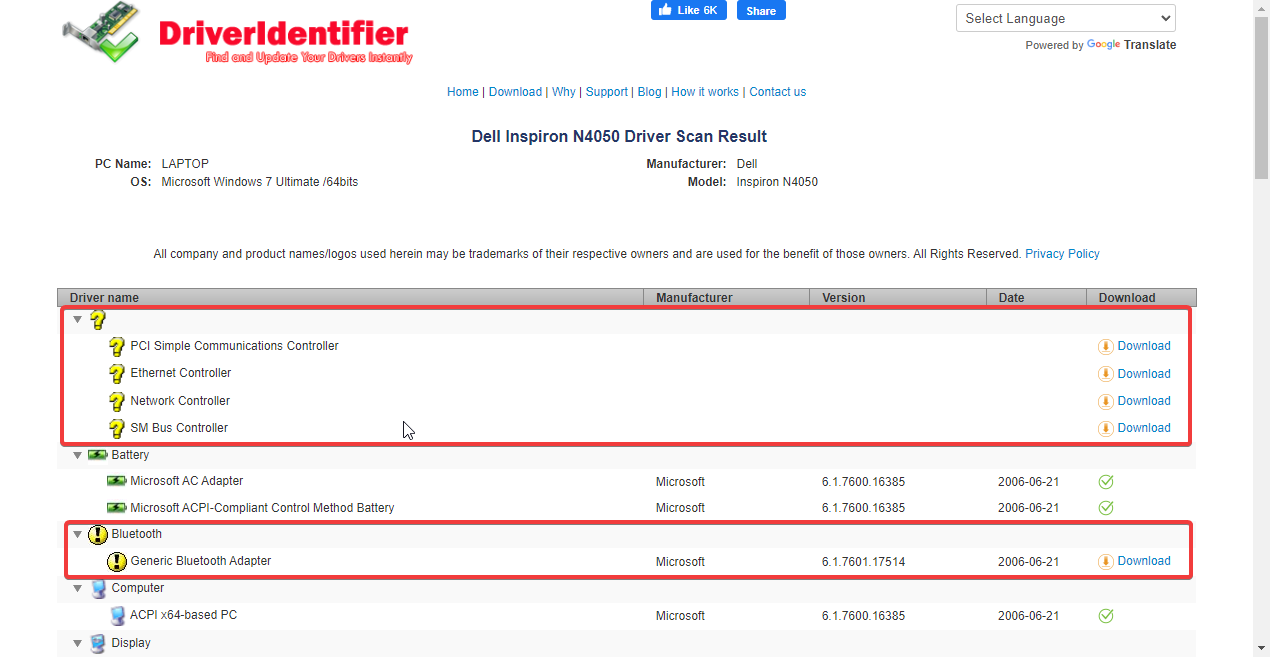
After some loading, you will be able to see the missing drivers. Download them through this page. Make sure you download the correct driver variant by reading it's description and supported operating systems carefully.
Installing
First, let's install the graphics driver. This laptop has no fancy dedicated graphics cards, it just the iGPU of the processor.
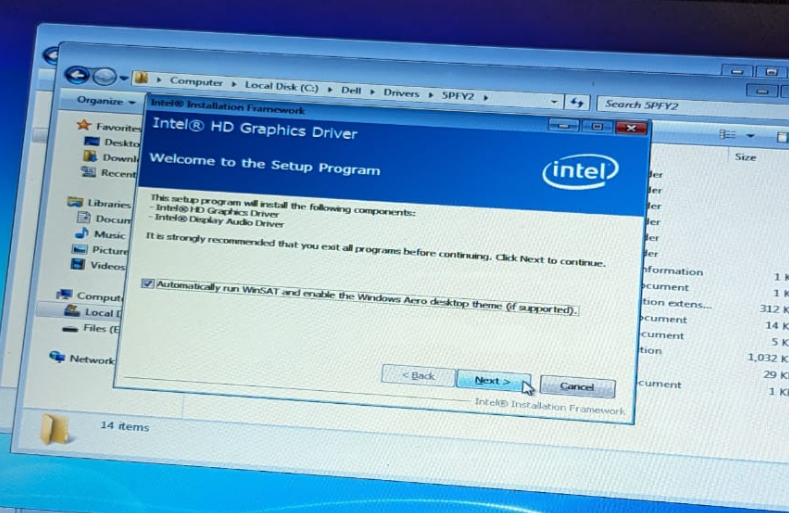
After successfull installation of the graphics driver, you will be greeted with this window:
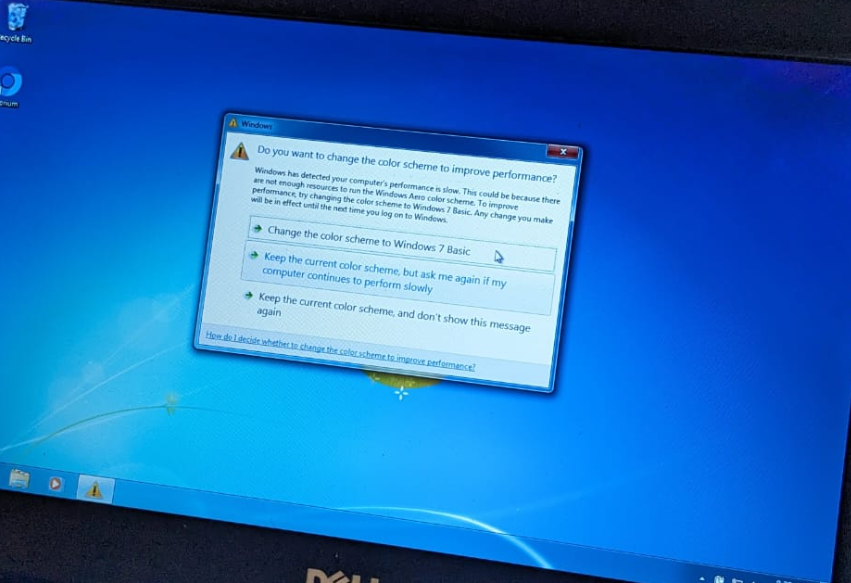
With functioning graphics drivers, the Windows Aero Theme (Windows 7 with translucency effects) gets enabled automatically, and then you are prompted saying that this might reduce performance and maybe you should switch back to the Windows 7 Basic theme. I'm not a huge fan of translucency effects, so, i'll disable it.
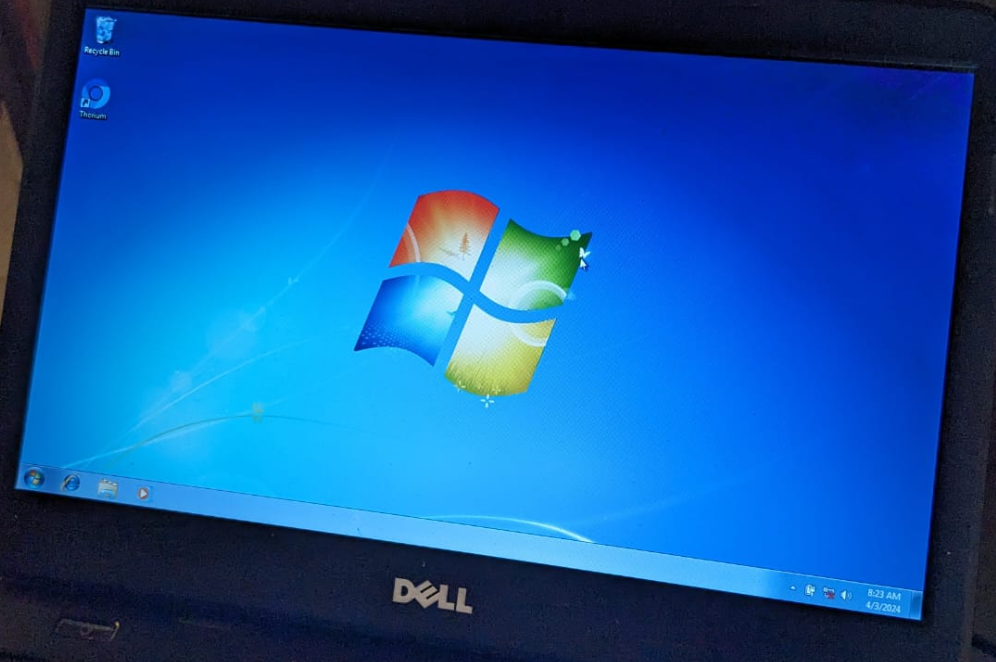
And the bad resultion has been finally fixed:
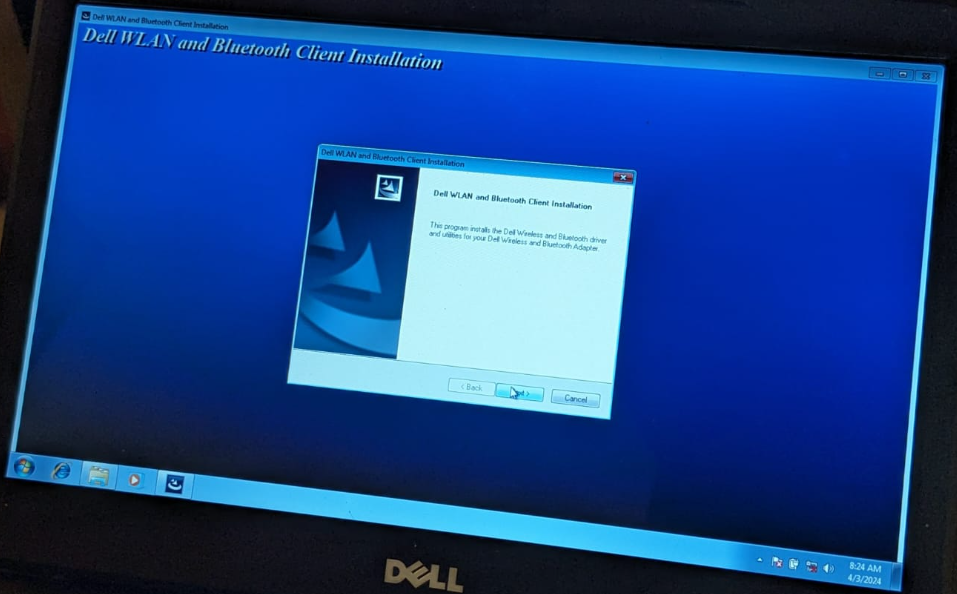
Next, let's install the WiFi Driver, so we can connect an internet connection.
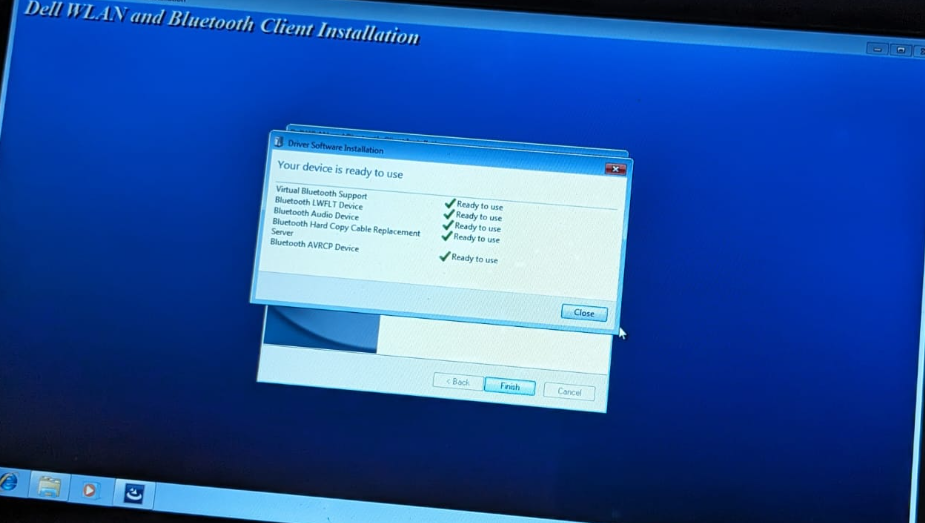
The devices will be identified by windows and they will be ready to be used. Note: sometimes, you may have to restart the computer for them to works. Depends on the driver and the device.
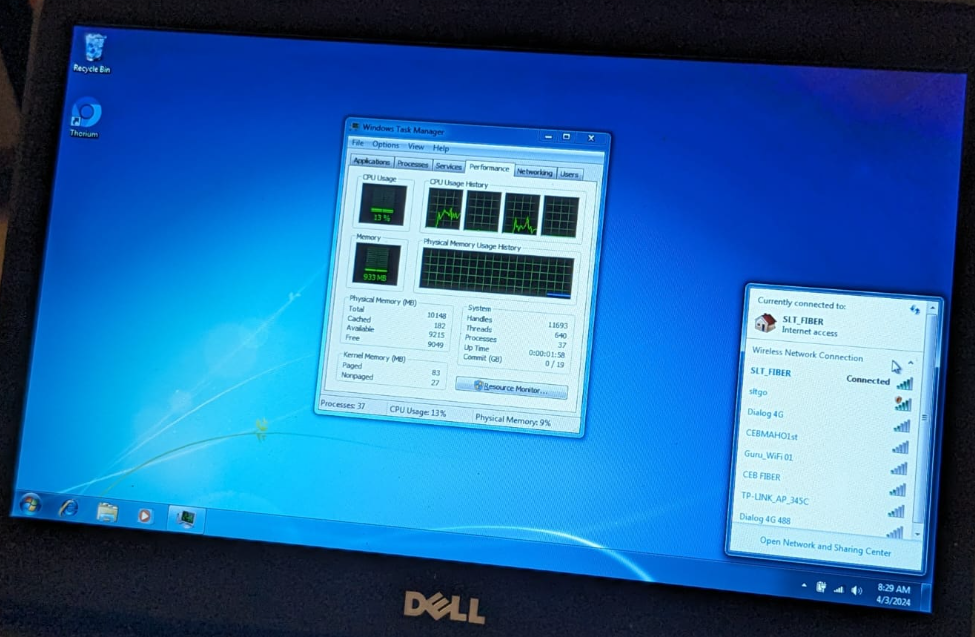
And just like that, we are good to go now. All we have to do is install the software updates and security patches.
Updates
Download
Click to start downloading the updates:
-
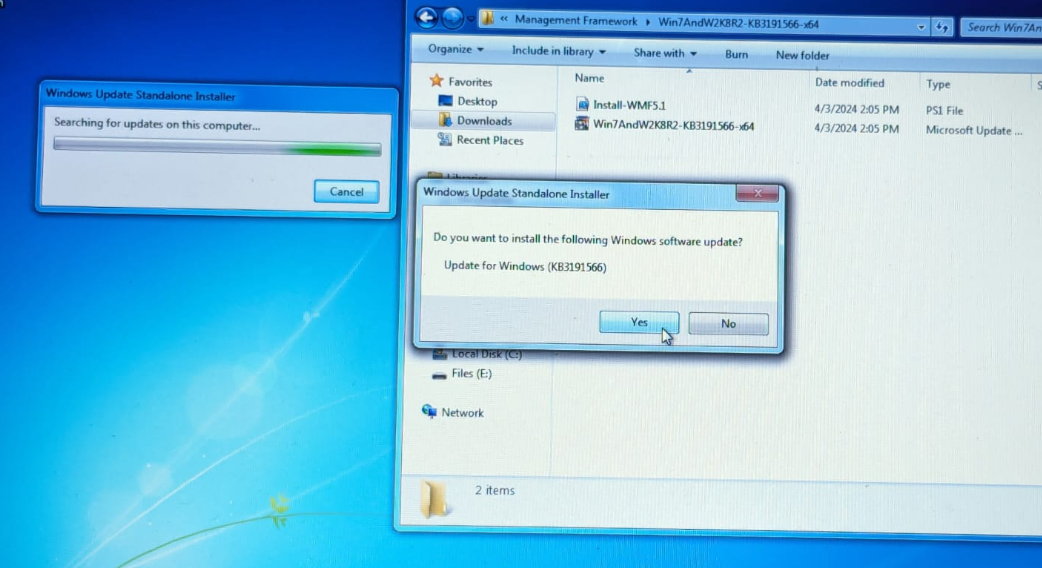
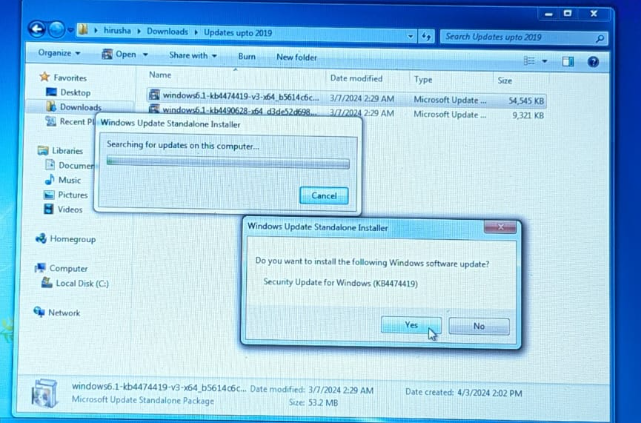
To get updates past 2019, one should manually install these two updates, in order
-
WinHlp32 update for Windows 7:
-
Wufuc, which enables updates on "unsupported systems". See the README.
Install
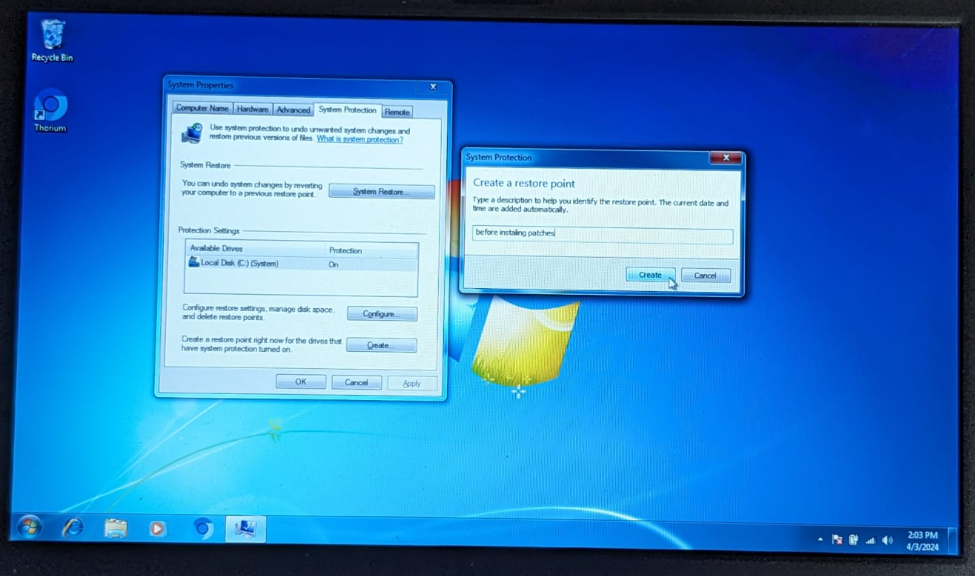
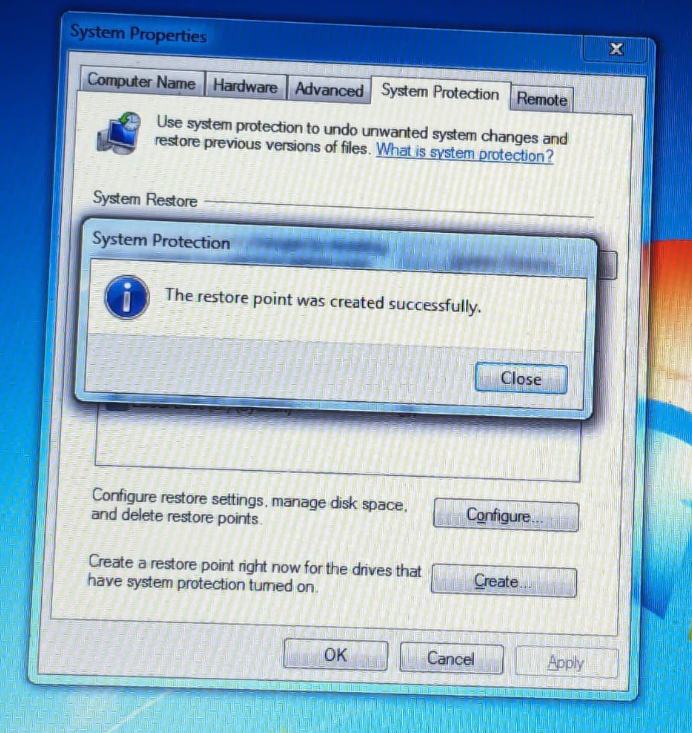
Before getting started, create a new restore point just to be safe.
Then, right click on the update file (with the .msu extension) and run it as Administrator.
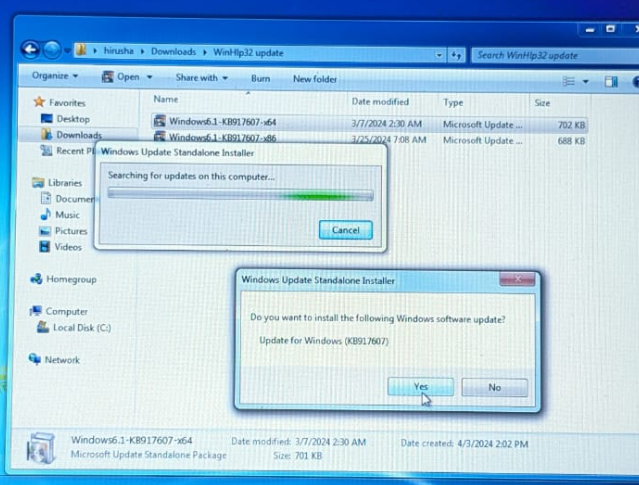
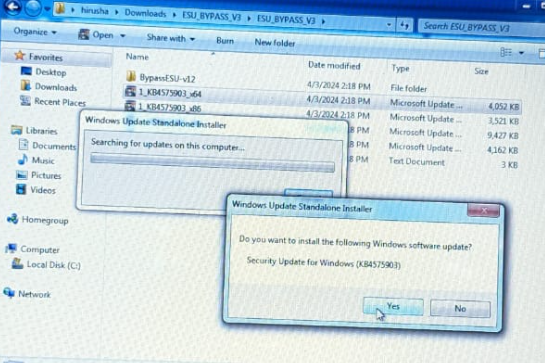
Since there are no more upcoming updates, i think wufuc might not be necessary.
Software
Web Browser
Internet Explorer is USELESS garbage. So, i will disable it.
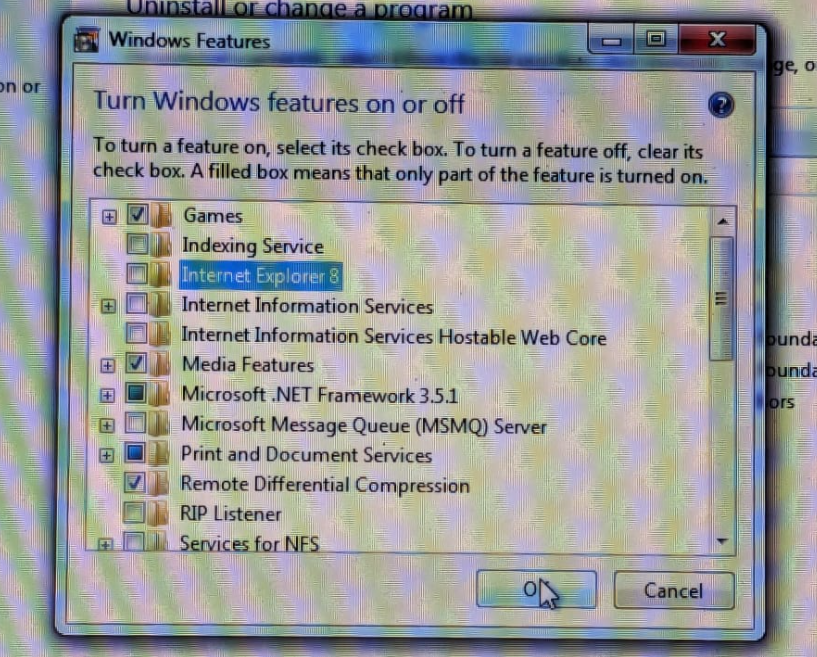
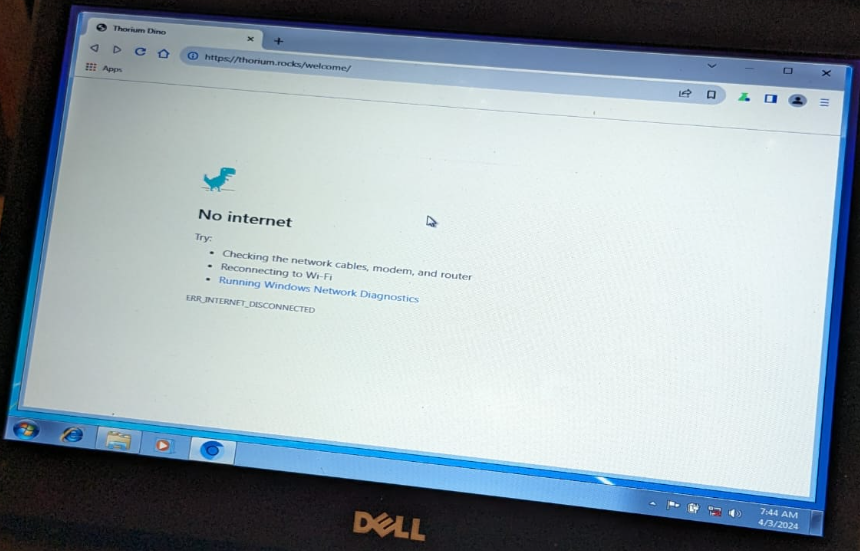
Google Chrome nor Firefox supports Windows 7 anymore. The only proper option that we are left with is Thorium. Click here to download the latest version of Thorium. - Yes, it's the faster browser to ever exist so far.
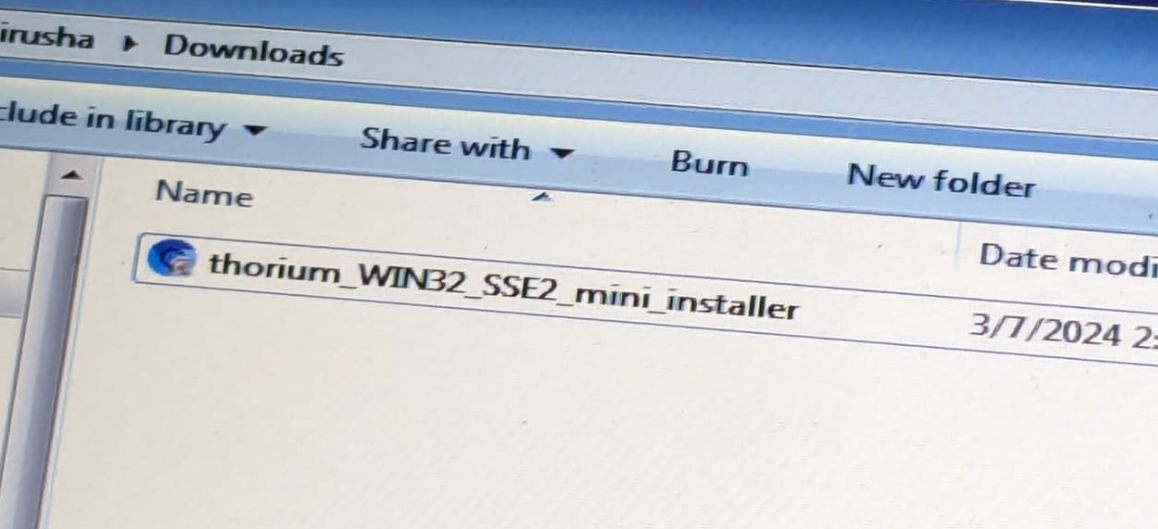
Give the installer a couple of seconds and it will be installed. (I wasn't connected to the internet while i was installing this)
7-zip
This is a great utility, instead of using the never-ending free trial of WinRAR, use 7-zip. Click here to download it.
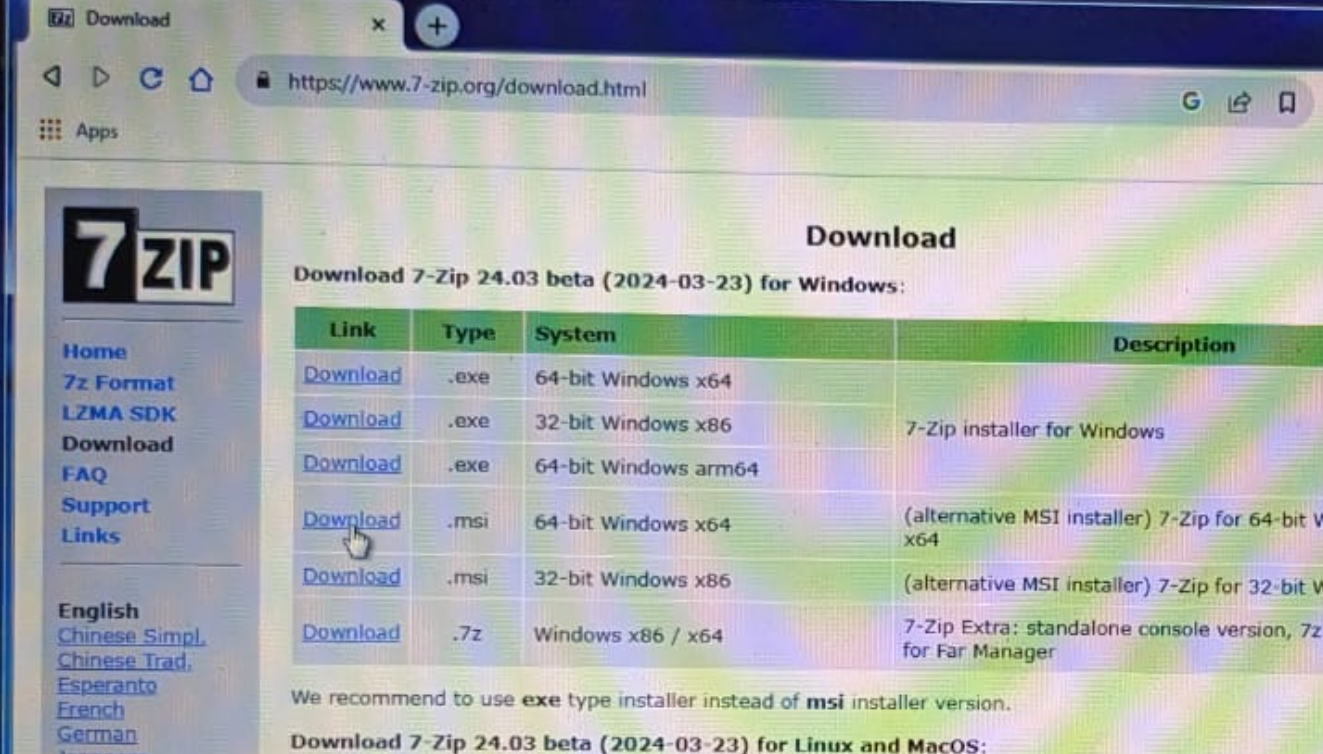
Download it and run the installer. You should be able to see "7-zip" in the right-click context menu.
Microsoft Office Suite
Click here to learn more about downloading the Microsoft Office Suite.
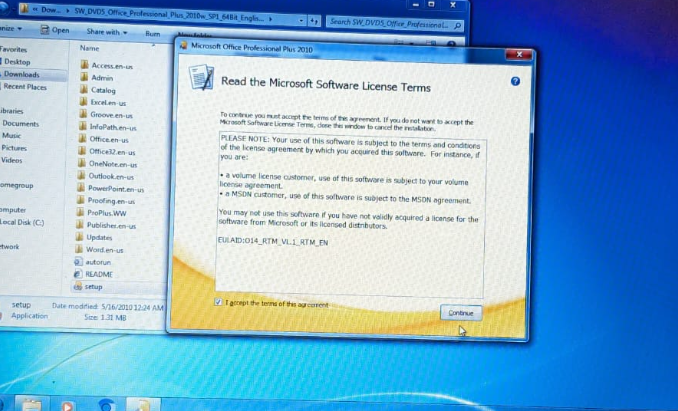
Since Office 2013 is bloated and Office 2007 looks ancient, I'll be sticking with Microsoft Office 2010, just like the other 1000s of government offices in Sri Lanka.
Nextcloud
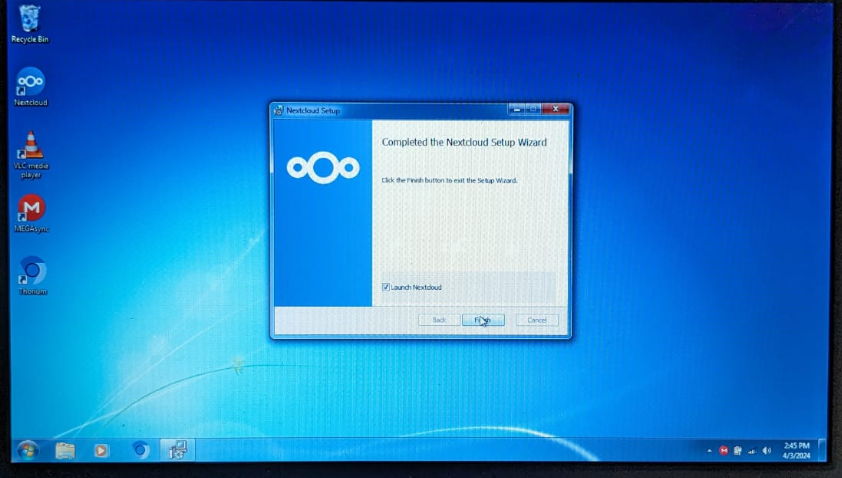
Luckily, the Nextcloud Desktop sync client still works on Windows 7.
NOTE: The official client won't work without Service Pack 1 (SP1). In this case, you will have to use a third party client with WebDAV to sync the files. It's extremely slow and not recommended. Please make sure that you have installed the SP1. Not having SP1 will also break support for many applications.
Other Applications
Windows 7 Program Compatibility list: Click here
Credits
- Inspired by thorium.rocks/win7